Introduction:
Installing a dryer vent through the roof is a viable option for many homeowners seeking an efficient way to expel hot, moist air from their dryers. Although it might not be the most common method, this installation option has numerous advantages, from improving dryer performance to enhancing home safety. The following detailed guide explores the benefits, materials, installation process, maintenance, and potential issues associated with venting a dryer through the roof.
Dryer Vent Through the Roof:
Home Benefits Explained
Benefits:
Why Consider Roof Venting for Your Dryer?
Venting a dryer through the roof offers several advantages that can make it an attractive option.
Improved Efficiency:
Optimal Airflow:
Roof venting allows for a more direct path for the exhaust air to escape compared to wall venting. This shorter, more direct route minimizes the chances of lint buildup and obstruction, facilitating better airflow. Improved airflow means your dryer can operate more efficiently, drying clothes faster and using less energy.
Reduced Backpressure: Backpressure can decrease dryer efficiency and extend drying times. A roof vent, when properly installed, reduces backpressure, ensuring optimal dryer performance. This efficiency not only saves on energy costs but also prolongs the lifespan of your appliance.
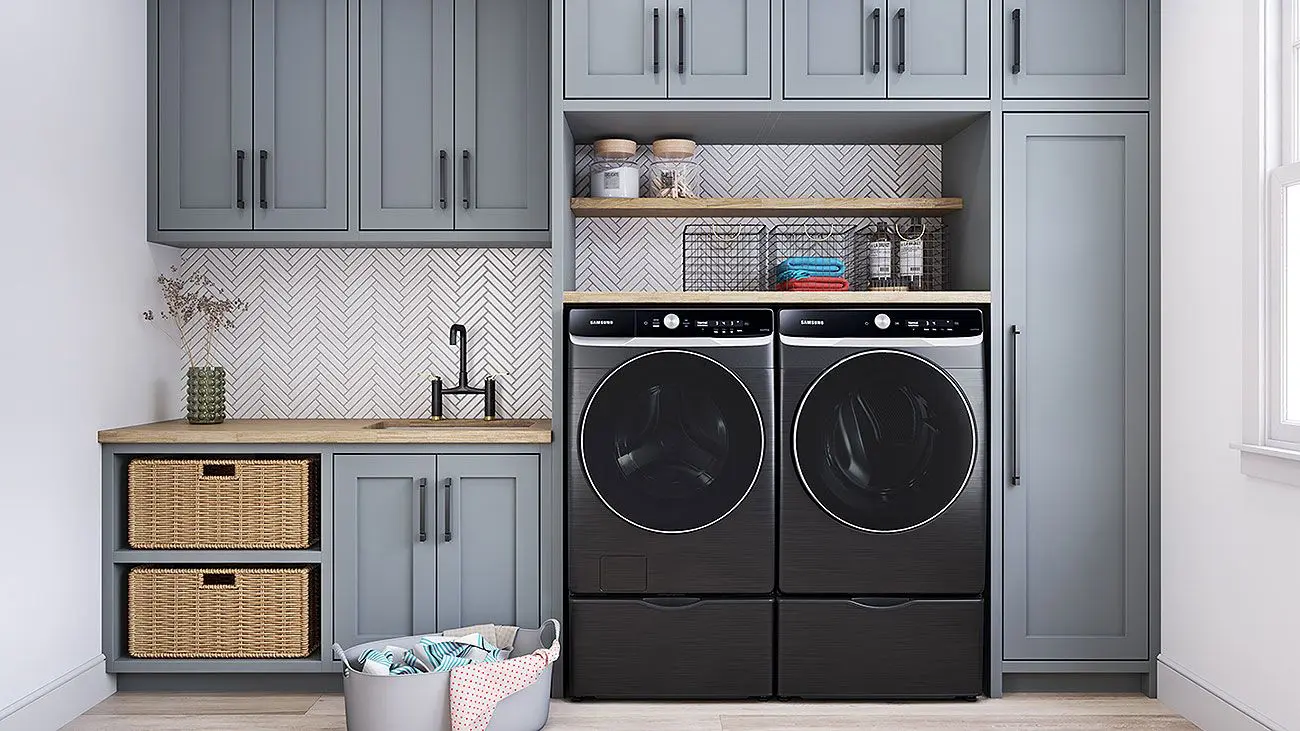
Space-Saving Solution:
Free Up Wall Space:
Venting through the roof can free up valuable wall space, which might be particularly beneficial in smaller homes or apartments. This extra space can be used for additional storage, utilities, or improving the general layout of your laundry area.
 Aesthetic Appeal:
Cleaner Exterior Look:
Installing a dryer vent through the roof can help maintain the aesthetic appeal of your home’s exterior. Wall vents can often be unsightly and take away from the home’s curb appeal. By venting through the roof, you keep the venting system out of sight, contributing to a cleaner, more streamlined look.
Safety:
Why Is Roof Venting a Safer Option?
There are important safety considerations when it comes to venting a dryer through the roof.
Fire Hazard Reduction:
Minimize Lint Buildup:
Lint buildup in dryer vents is a common cause of household fires. Roof venting helps to minimize lint buildup by providing a direct and efficient path for the exhaust air. With less lint accumulation, the risk of fire is significantly reduced, making your home safer.
Clear Path for Exhaust:
A roof vent usually has fewer bends and turns compared to a wall vent. This straightforward path ensures that lint and other debris are less likely to get stuck, further reducing fire hazards.
Improved Air Quality:
Prevent Moisture Damage:
Proper venting prevents excess moisture from being released into your living spaces. Roof venting allows hot, moist air to exit efficiently, preventing issues like mold growth, wood rot, and other moisture-related damages in your home.
Health Benefits:
Effective venting can improve indoor air quality by eliminating excess moisture and reducing the potential for mold and mildew growth. Mold and mildew can lead to respiratory issues and other health problems, so maintaining good air quality is essential.
Materials:
What Do You Need for Roof Vent Installation?
Selecting the right materials for roof vent installation is crucial for effectiveness and durability.
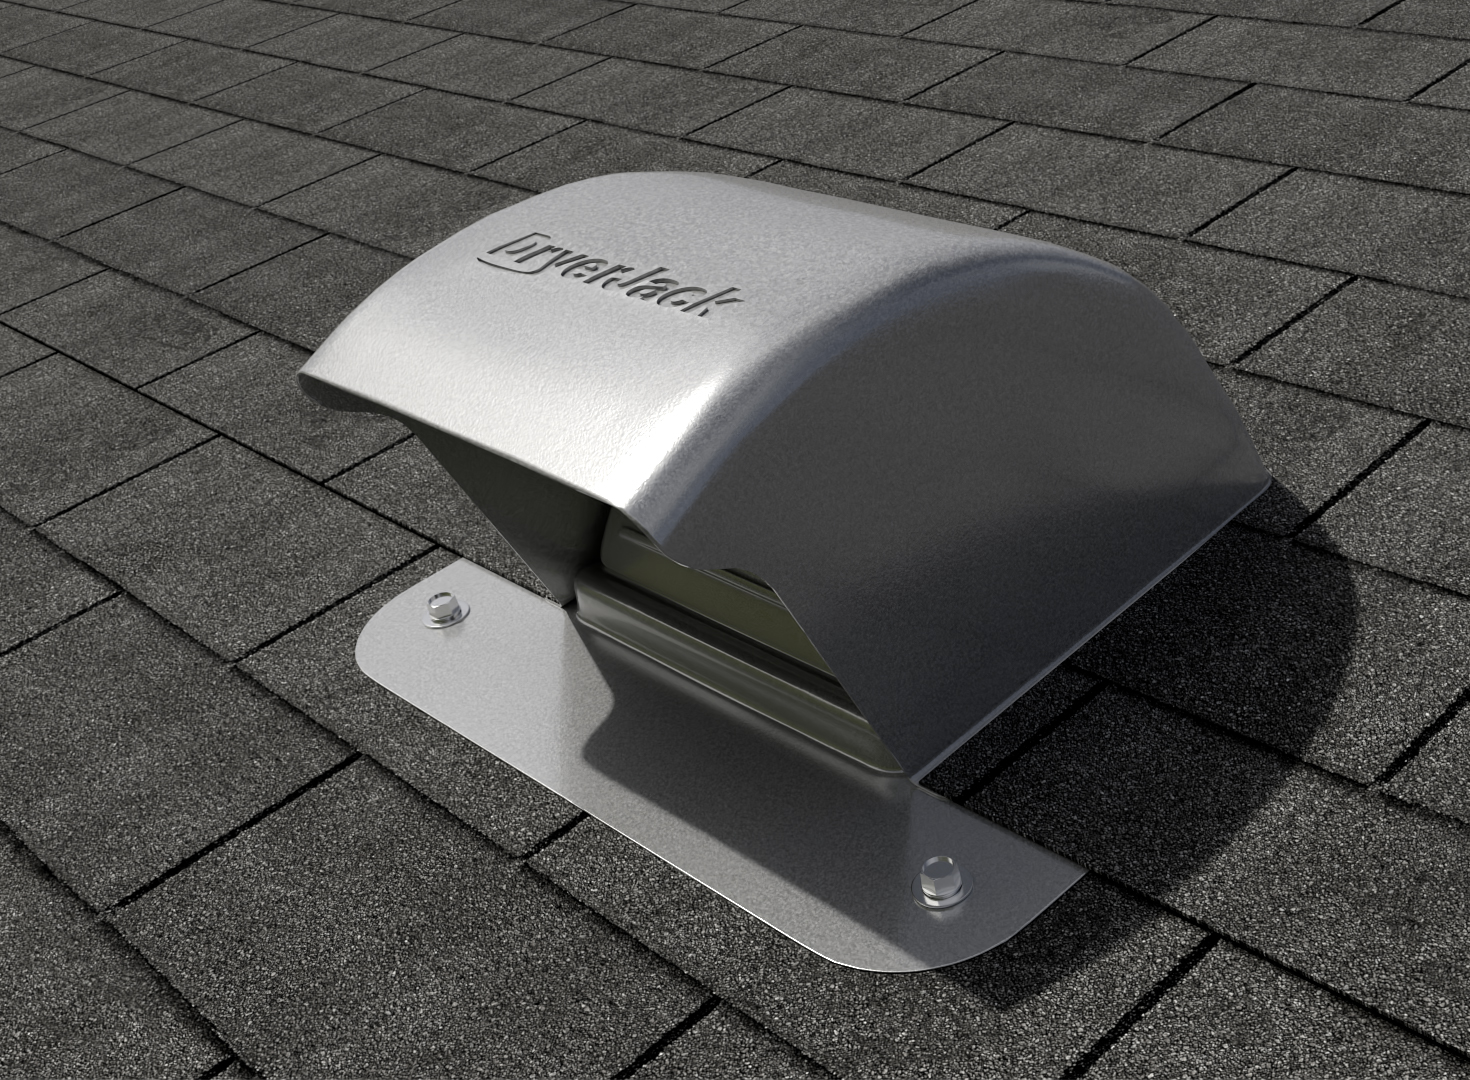
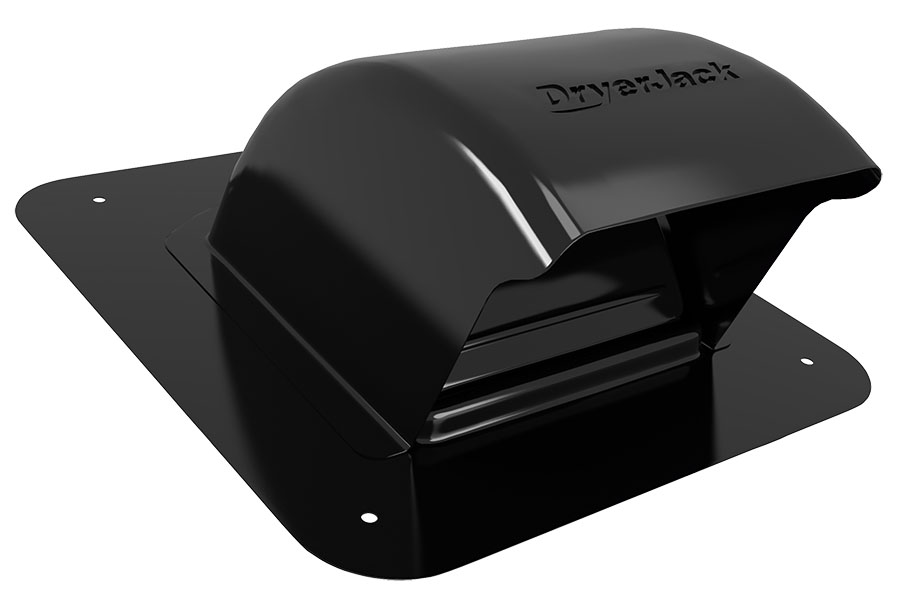
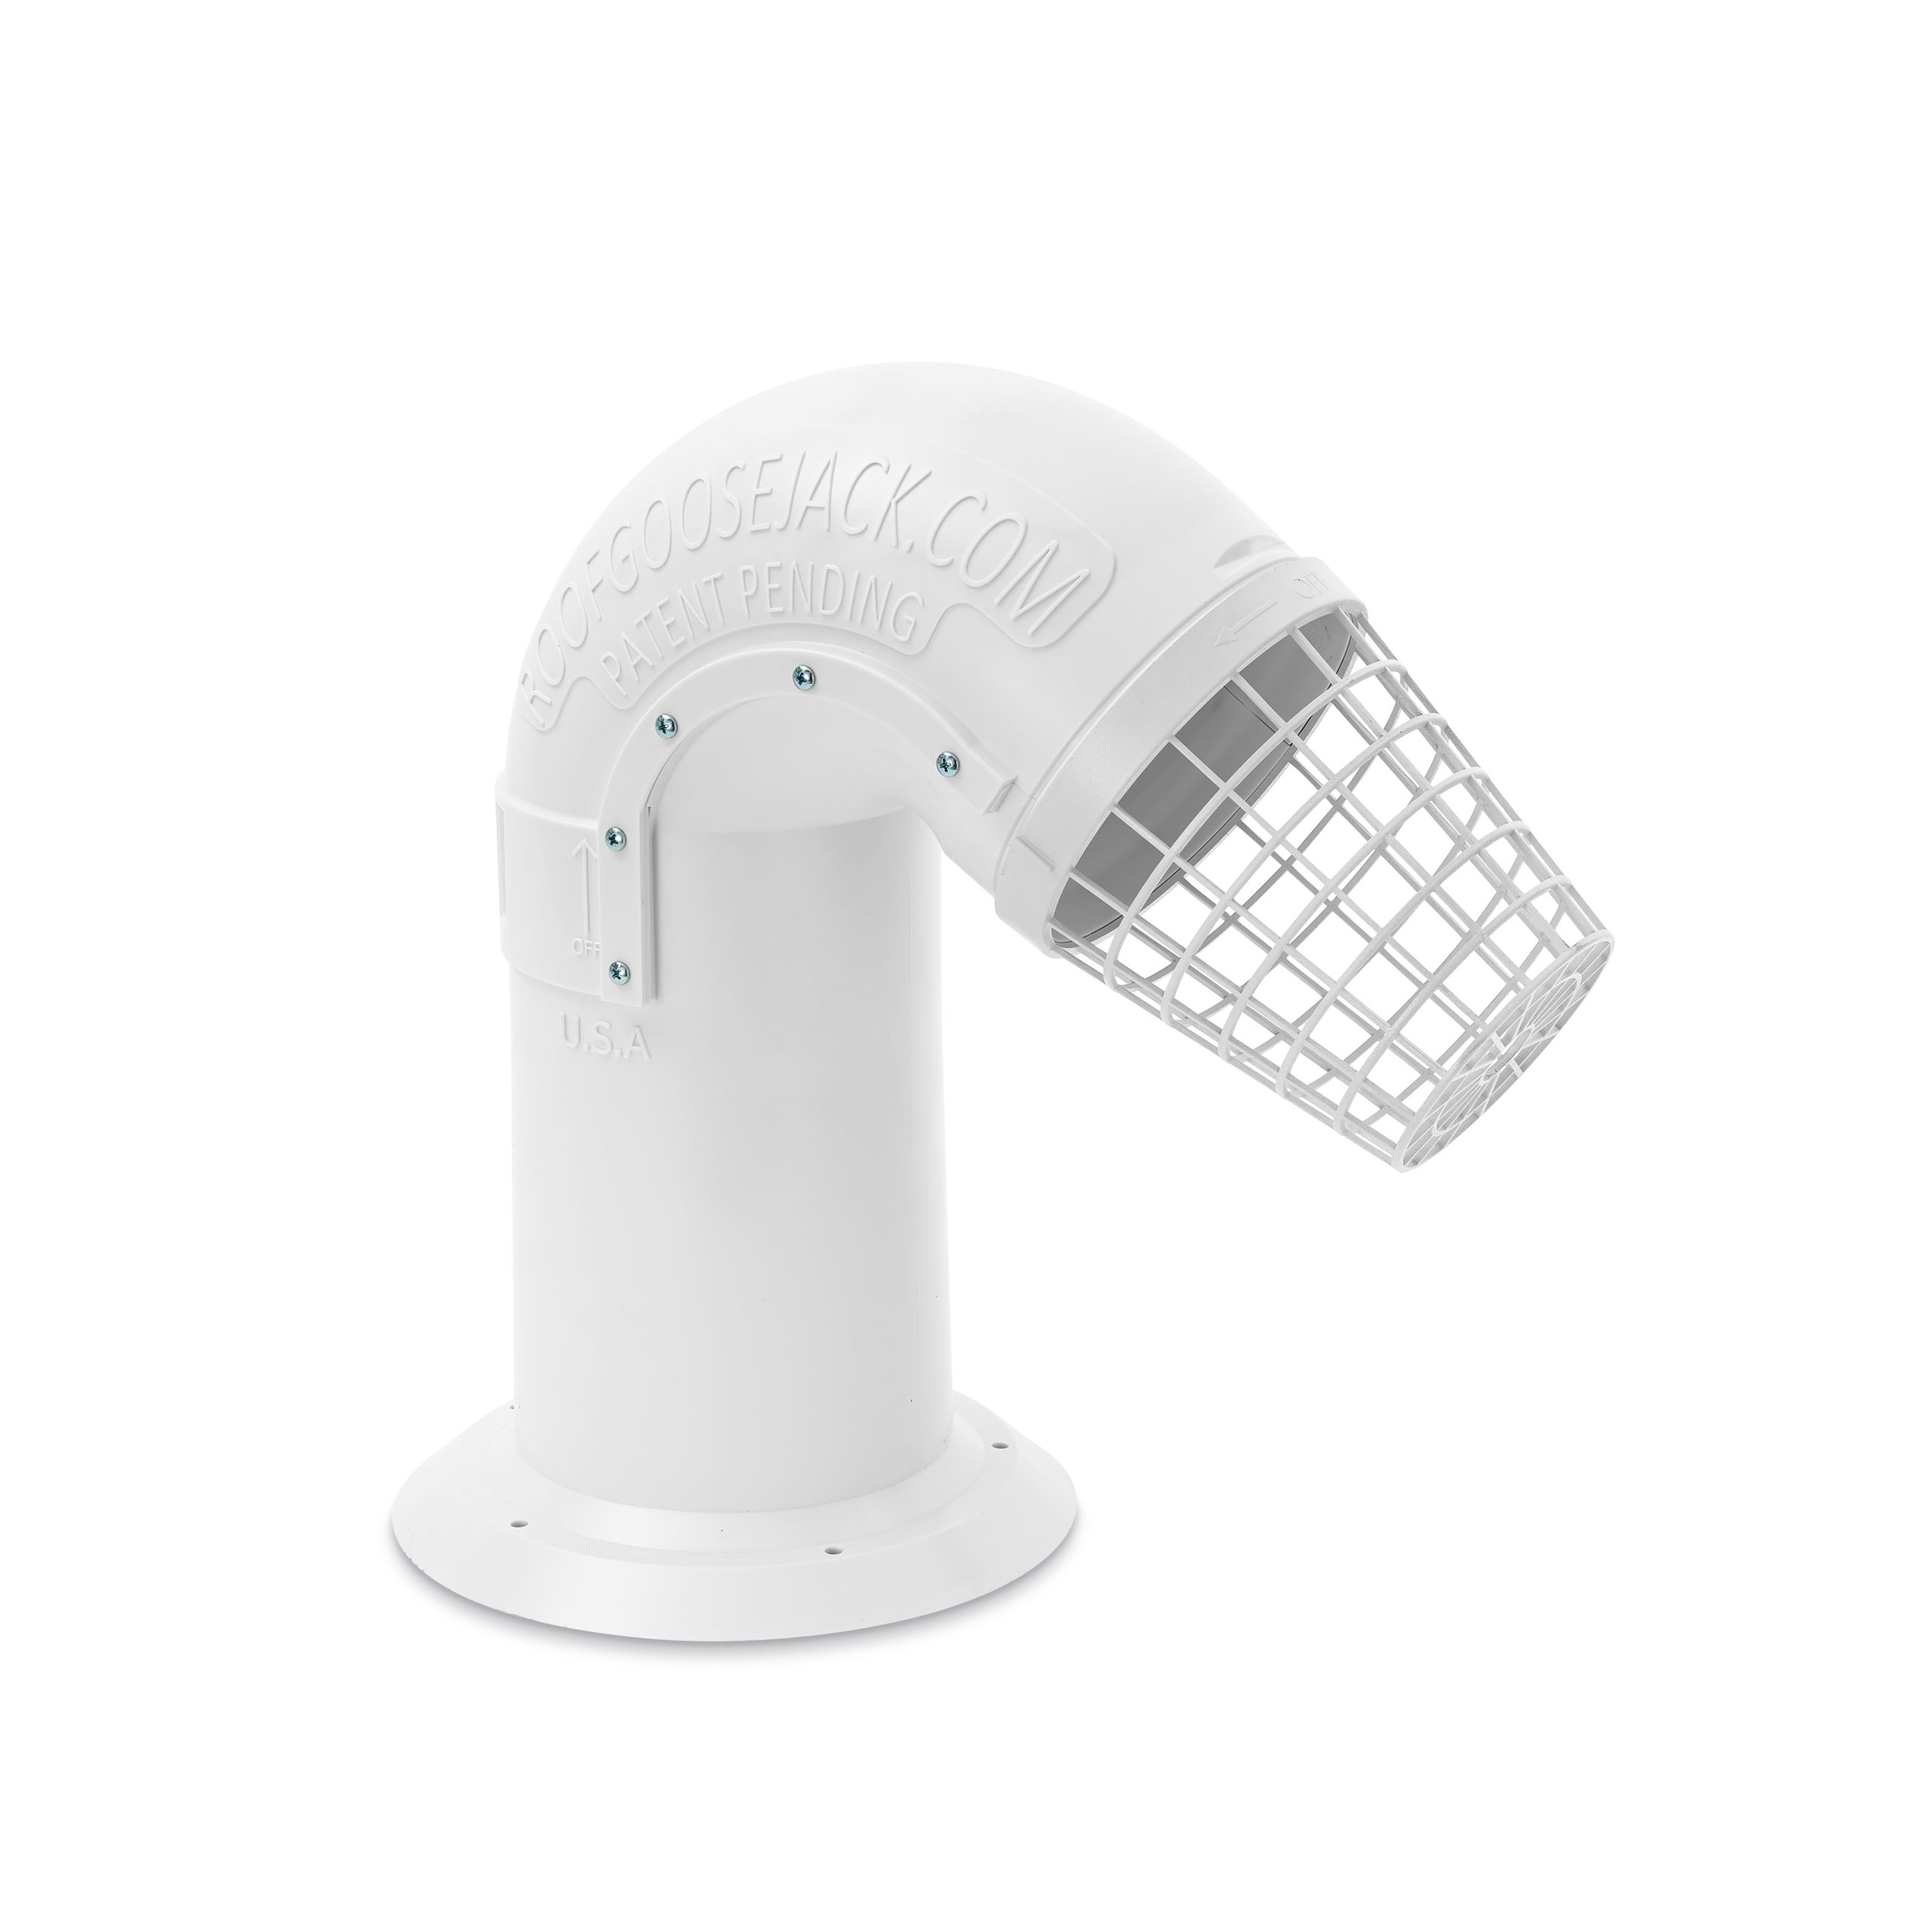
 Vent Cap:
Durable and Weatherproof:
Choosing a high-quality vent cap is essential. Look for vent caps made from durable materials like stainless steel or aluminum to withstand weather conditions. The vent cap should have a bird guard or a screen to prevent animals and debris from entering the vent system.
Ductwork:
Rigid vs. Flexible:
Rigid metal ducts are recommended over flexible ducting for roof installations. Flexible ducts can sag and trap lint, leading to potential hazards and decreased efficiency.
Sealing Materials:
Ensure Leak-Free Installation:
Use high-quality sealing materials like silicone caulk or roofing tar to seal the vent cap to the roof. Proper sealing is crucial to prevent leaks, which can cause water damage and reduce the effectiveness of the venting system.
Insulation:
Prevent Heat Loss:
Insulating the ductwork is essential to prevent heat loss and condensation issues. Use insulation materials that are designed to withstand high temperatures, ensuring that the warm, moist air from the dryer exhausts efficiently.
Installation Process:
How Is a Roof Dryer Vent Installed?
The installation process involves several key steps to ensure a safe and effective vent.
 Planning and Preparation:
Choosing the Location:
Select a suitable location on the roof for the vent. It should be as close to the dryer as possible to minimize the length of the ductwork. Ensure that the chosen spot is away from windows, doors, and other openings to prevent exhaust air from re-entering the home.
Gathering Tools and Materials:
Prepare all the necessary tools and materials before starting the installation. This typically includes a drill, saw, measuring tape, vent cap, ductwork, sealing materials, and insulation.
Cutting the Hole:
Precise Measurement:
Measure and mark the location of the vent on the roof. Use a saw to cut a hole through the roof and the ceiling below if necessary. The hole should be slightly larger than the diameter of the ductwork to allow for easy installation.
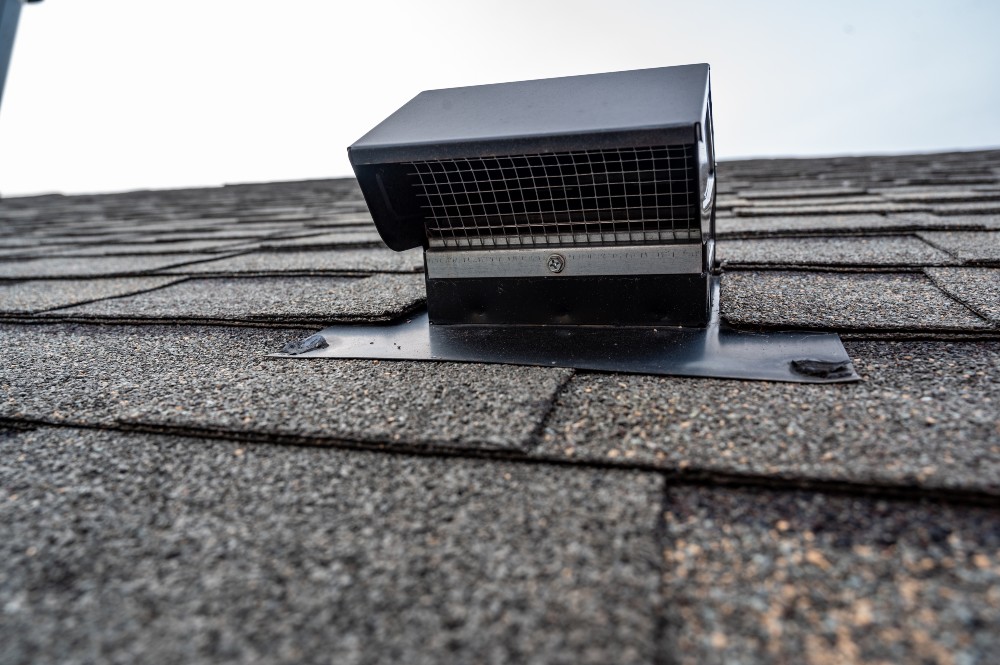
Securing the Vent Cap:
Weatherproof Installation:
Place the vent cap over the hole and secure it to the roof using screws. Ensure that the vent cap is level and properly positioned. Apply sealing materials around the edges of the vent cap to create a watertight seal.
Installing the Ductwork:
Connecting to the Dryer:
Attach the ductwork to the dryer’s exhaust port and run it through the attic to the roof vent. Use rigid ducting for the best airflow and secure it with metal clamps or tape. Ensure that the ductwork is as straight as possible, with minimal bends and turns.
Sealing and Insulating:
Seal all joints in the ductwork with metal tape to prevent air leaks. Insulate the ductwork to prevent heat loss and condensation, which can lead to moisture problems in the attic.
Testing the System:
Ensuring Proper Functionality:
After installation, test the venting system to ensure it is working correctly. Turn on the dryer and check for any air leaks or blockages. Make sure the exhaust air is flowing freely through the vent cap.
Maintenance:
How Do You Keep a Roof Dryer Vent in Good Condition?
Regular maintenance is essential to ensure the roof dryer vent operates efficiently.
Routine Cleaning:
Preventing Lint Buildup:
Regularly clean the vent cap and ductwork to prevent lint buildup. Use a vent cleaning brush to remove lint from the ductwork and a vacuum to clean around the dryer’s exhaust port. Schedule cleanings at least once a year or more frequently if you use the dryer often.
 Inspection:
Checking for Damage:
Inspect the vent cap and ductwork periodically for any signs of damage, such as cracks, rust, or loose connections. Address any issues promptly to prevent further damage and ensure the venting system remains effective.
Professional Services:
Expert Maintenance:
Consider hiring a professional to inspect and clean the roof dryer vent system. Professionals have the tools and expertise to thoroughly clean and inspect the system, ensuring it operates safely and efficiently.
Potential Issues:
What Problems Might Arise with Roof Venting?
While roof venting offers many benefits, it’s essential to be aware of potential issues that might arise.
Leakage:
Water Damage:
Improperly sealed vent caps can lead to leaks, causing water damage to your roof and attic. Ensuring that the vent cap is correctly installed and sealed with high-quality materials can prevent this issue.
Lint Buildup:
Increased Fire Risk:
Even with a roof vent, lint buildup can still occur if the ductwork is not regularly cleaned. Lint buildup increases the risk of fire and reduces the efficiency of the dryer. Routine maintenance is essential to keep the system functioning correctly.
Animal Intrusion:
Blocking and Damage:
Birds and small animals can sometimes enter the vent cap if it is not adequately secured. This can block the vent and cause damage. Installing a vent cap with a bird guard or screen can prevent animal intrusion.
Conclusion
Installing a dryer vent through the roof offers numerous benefits, including improved efficiency, enhanced safety, and better aesthetic appeal. The use of high-quality materials and a well-planned installation process ensures the venting system operates effectively. Regular maintenance, including cleaning and inspection, is crucial to prevent issues such as lint buildup, leaks, and animal intrusion. Understanding these aspects highlights the advantages of roof venting and ensures your dryer operates safely and efficiently, providing peace of mind and improved performance.