Initial Checks: Power Supply Issues
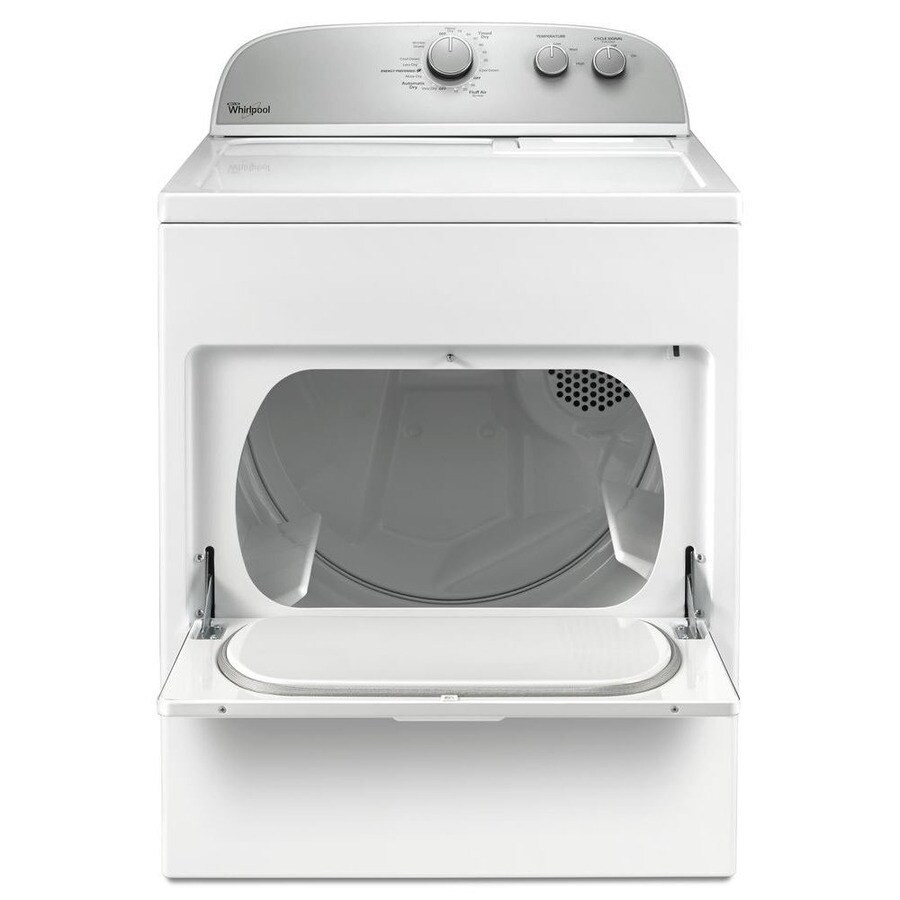
Whirlpool dryer not turning on? Before you dive into more complex troubleshooting, start with the basics: ensure your Whirlpool dryer gets the power it needs to operate. A lack of power is a common culprit behind a dryer that won’t turn on.
Examining the Electrical Panel
First things first, head to your home’s electrical panel. Look for tripped breakers or blown fuses related to the dryer. Dryers usually run on two separate breakers; both need to be reset if tripped. If you find any blown fuses, replace them, but also consider why it happened to prevent future issues.
Testing the Power Outlet with a Multimeter
If the electrical panel checks out, the next step is testing the dryer’s power outlet. Use a multimeter to ensure that each side is supplying about 120 volts, totalling approximately 240 volts. This step confirms whether your outlet is capable of powering the dryer. Remember, never use an extension cord with your dryer, as they can lead to power issues and pose safety risks.
Door-Related Problems
Whirlpool dryer not turning on? For a Whirlpool dryer that won’t turn on, door-related issues can often be the cause. Checking the door strike and latch as well as the door switch is a critical step in the troubleshooting process. These components ensure that the dryer operates safely by not allowing it to run if the door is open.
Inspecting the Door Strike and Latch
Begin by examining the door strike and latch for any signs of damage or wear. These parts keep the door securely closed, allowing the dryer to operate. Look for:
- Broken or missing pieces.
- Signs of bending or warping.
- Difficulty closing the door or an unusual looseness.
If you find any abnormalities, replacing the affected parts might solve your problem.
Testing the Door Switch for Continuity
The door switch plays a crucial role in safety. If it’s defective, the dryer won’t start. Follow these steps for testing:
- Disconnect power to the dryer.
- Locate the door switch, often behind the front panel.
- Remove wires from the switch carefully.
- Use a multimeter to check for continuity.
If the multimeter does not detect continuity when the switch is pressed, you should replace the switch. A functioning door switch is vital for the dryer to operate correctly.
Thermal Fuse Complications
The thermal fuse is a critical safety component in Whirlpool dryers, designed to prevent overheating by cutting power. If your dryer isn’t turning on, a blown thermal fuse could be the culprit. This section will guide you through locating and assessing the continuity of the thermal fuse in your Whirlpool dryer.
Locating the Thermal Fuse
First, ensure your dryer is unplugged or the gas is turned off before you start. The thermal fuse is typically mounted near the dryer’s blower wheel or next to the heating element on the rear or bottom of the cabinet. Depending on your dryer model, you may need to remove the back panel or disassemble more of the dryer to reach it.
Assessing the Fuse for Continuity
With the thermal fuse accessible, use a multimeter to test for continuity. Disconnect the fuse and place each multimeter probe on the fuse terminals. A good fuse shows continuity, meaning the electrical path is complete. If there is no continuity, the fuse has blown and needs replacement. Always replace a blown fuse with the exact same type and rating to ensure safe operation.
Remember, finding a blown fuse often indicates an underlying problem, such as restricted airflow or a malfunctioning thermostat. After replacing a blown thermal fuse, monitor your dryer closely to ensure the new fuse does not blow again, indicating further investigations are needed.
 Start Switch Malfunction
A failed start switch is another primary reason a Whirlpool dryer might not turn on.
Identifying the Start Switch
To find the start switch, you must access the interior of the dryer’s control panel. This switch is often connected to the main control board and is responsible for initiating the drying cycle. Locate the switch, typically secured by screws or clips, and set gently aside to prepare for testing it.
Conducting a Continuity Test on the Start Switch
Once you’ve identified and accessed the start switch, you can test it for continuity as follows:
- Disconnect your dryer from the power source to ensure safety during testing.
- Detach the wires leading to the start switch carefully to prevent damage.
- Place each probe of your multimeter on the switch’s terminals to test for continuity.
- Press the switch; if the multimeter’s reading shows continuity, the electrical path is complete.
If the start switch does not have continuity when activated, it is likely defective and will need replacement. This could resolve your issue with the Whirlpool dryer not turning on.
Drive Belt and Motor Concerns
When a Whirlpool dryer refuses to start, the drive belt and motor might be at fault. These are crucial components that drive the drum, ensuring your clothes get dried properly.
Checking the Integrity of the Drive Belt
Start by inspecting the drive belt. This belt wraps around the drum and needs to be intact to function. Here’s how you can check it:
- Disconnect power to your dryer for safety.
- Remove the top or front panel to expose the drum and belt.
- Inspect the belt for any signs of wear or breakage.
- Check that the belt is snugly fit around the drum and the pulleys.
If you find the belt broken or damaged, replace it to restore your dryer’s function.
Evaluating the Drive Motor and Blower Wheel
The drive motor powers the dryer drum and blower wheel. If they fail, your dryer won’t start. Follow these steps to evaluate them:
- Ensure the dryer is unplugged or gas is turned off.
- Access the motor, usually located near the base of the dryer.
- Visually inspect the motor and blower wheel for blockages or damage.
- Spin the blower wheel by hand. It should rotate freely.
- If the motor emits a burning smell or the wheel is stiff, consider replacing the motor or wheel.
These checks will help determine whether issues with the drive belt or motor are preventing your Whirlpool dryer from starting.
 Control Panel and Settings
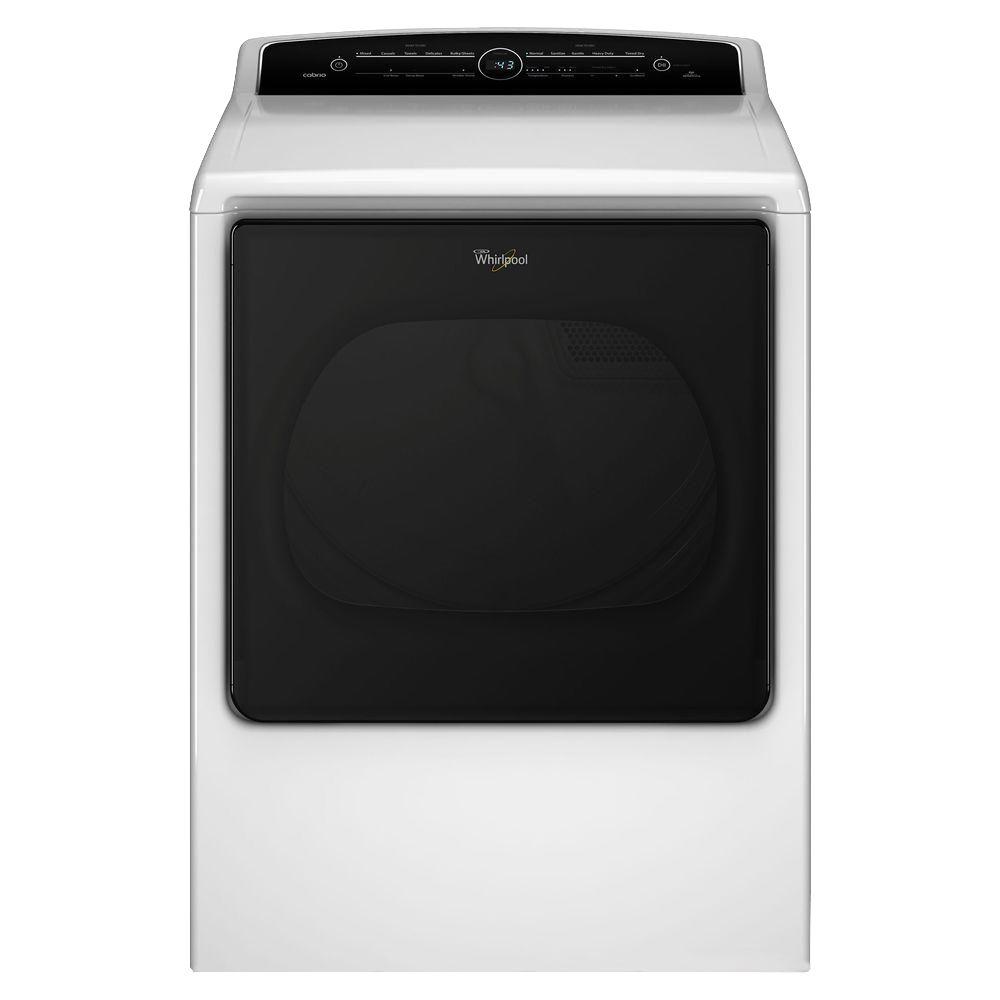
Navigating through the control panel of a Whirlpool dryer involves understanding its settings and functionalities clearly.
Ensuring Correct Use of Electronic Touch Controls
Modern Whirlpool dryers often feature electronic touch controls. Treat the control panel as if it were a touchscreen device. To make selections:
- Use the tip of your finger, not a fingernail, to achieve better responsiveness.
- Ensure your fingers and panel are dry; moisture can hinder touch sensitivity.
- Gently tap the desired options or settings on the display.
If the panel does not respond or behaves erratically, wiping it with a dry cloth might help in restoring its functions.
Confirming the Cycle Selection and Start Button Operation
Choosing the right drying cycle is critical for effective operation:
- Rotate the Cycle Control knob to select either ‘Automatic Dry’ or ‘Timed Dry’.
- Avoid setting the knob to ‘Wrinkle Reduction’ as it won’t initiate drying.
Next, observe the correct way to begin a drying cycle:
- Press and hold the ‘Start’ button for three seconds. A simple, quick tap may not work.
- Listen for any sounds indicating the dryer has commenced operation.
If issues persist despite these checks, consider reviewing the user manual or consulting with a technician for further guidance.
Addressing Circuit Breaker and Fuse Issues
For a Whirlpool dryer that won’t start, checking your home’s circuit breaker and fuses is crucial. These components are essential for providing power to various appliances, including dryers.
Identifying Blown Fuses or Tripped Breakers
Start by locating your home’s electrical panel. Look for any tripped circuit breakers or blown fuses linked to the dryer’s circuit. Dryers typically use two breakers, so ensure both are intact and properly set. If you find a tripped breaker, reset it. Replace any blown fuses, but remember to investigate what caused the fuse to blow initially.
Understanding Electrical Requirements for Dryers
Whirlpool dryers require a specific amount of electricity to operate efficiently. They generally need a 240-volt electric outlet. Check if your dryer’s outlet meets this requirement with a multimeter. If your outlet is not providing enough power, the dryer won’t turn on. Ensuring your electrical system meets these demands is key to resolving power issues with your dryer.
