
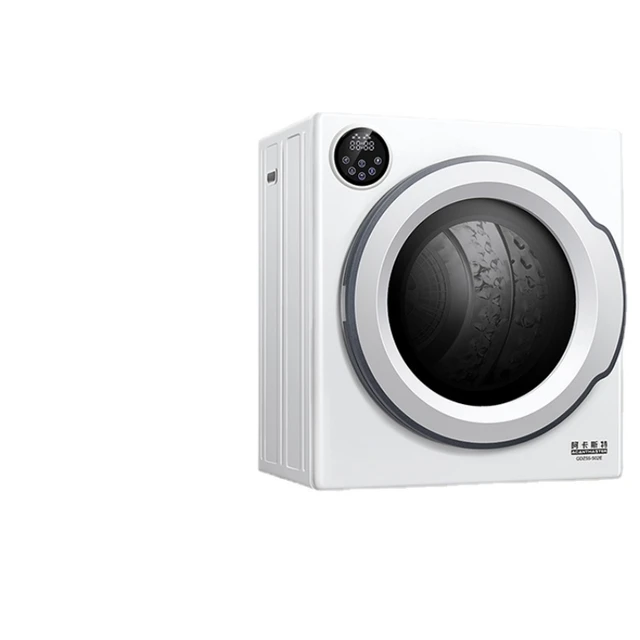
Introduction
Installing a washer and dryer hookup is an essential step in setting up a functional laundry space within your home. Whether you’re moving into a new house, remodeling, or upgrading your laundry room, proper installation is crucial for optimal performance and efficiency. In this comprehensive guide, we will explore the key steps involved in washer and dryer hookup installation, discuss the necessary tools and materials, highlight safety precautions, and provide tips for a seamless installation process.

Seamless washer and dryer hookup installation guide
I. Preparing for Installation
-
Determine the Location:
- Before starting the installation process, carefully select the location for your washer and dryer hookup. Consider factors such as plumbing access, electrical outlets, ventilation, and space requirements. Ensure sufficient clearance for the appliances and allow for easy access for maintenance and repairs.
-
Gather the Necessary Tools and Materials:
- To successfully install the washer and dryer hookup, you’ll need a variety of tools and materials, including:
- Adjustable wrench
- Screwdrivers (flathead and Phillips)
- Pipe wrench
- Pliers
- Tubing cutter
- Measuring tape
- Hacksaw
- Level
- Pipe sealing compound or tape
- Supply hoses
- Vent ducting (if applicable)
- Electrical connectors (if needed)
- Dryer vent kit

-
Gather Safety Equipment:
- Personal safety is paramount during installation. Be sure to have the following safety equipment on hand:
- Safety goggles
- Gloves
- Work boots
- Dust mask (if needed)
- Fire extinguisher
II. Installing the Washer and Dryer Hookup
-
Plumbing Connections:
- Start by connecting the water supply lines. Shut off the main water supply and attach the hot and cold water hoses to the corresponding valves on the wall. Ensure a snug fit using an adjustable wrench or pliers, taking care not to overtighten. Use pipe sealing compound or tape to secure the connections and prevent leaks.
-
Drainage Setup:
- Install the drain hose for the washer. Ensure it extends to a proper drain outlet, typically a floor drain or a dedicated laundry drain line. Secure the hose with clamps or zip ties, ensuring a tight and secure connection. If necessary, consult a professional plumber to ensure proper drainage setup.
-
Electrical Connections:
- If your washer and dryer require electrical connections, follow these steps:
- Turn off the power to the designated outlet.
- Carefully connect the washer and dryer to the appropriate outlets, ensuring the connections are secure and free of exposed wires.
- If needed, consult a licensed electrician to ensure compliance with local electrical codes and to safely install any specialized outlets.
-
Ventilation Installation:
- If your dryer requires ventilation, follow these guidelines:
- Install the vent ducting to carry the moist air outside. Use aluminum or rigid metal ducting for optimal efficiency and safety.
- Ensure the vent ducting is securely connected to the dryer and properly routed to an exterior vent, while adhering to local building codes.
-
Leveling the Appliances:
- Use a level to ensure both the washer and dryer are level and balanced. Adjust the feet or use shims under the appliances as necessary to achieve proper leveling. This step is crucial to prevent excessive vibrations and potential damage to the appliances.
III. Safety Precautions
-
Gas Safety:
- If your dryer operates on gas, adhere to the following safety precautions:
- Ensure proper ventilation and airtight connections for gas lines.
- If you detect a gas leak odor, immediately turn off the gas supply, open windows for ventilation, and contact a qualified professional to address the issue.
-
Electrical Safety:
- When dealing with electrical connections, prioritize safety by following these precautions:
- Always shut off the power to the designated outlet before handling electrical connections.
- Ensure that electrical connections are secure and correctly wired to prevent the risk of electrical shock or fire hazards.
- If you are unsure about electrical work, consult a licensed electrician for proper installation and compliance with local regulations.
-
Load Distribution:
- Ensure that the washer and dryer loads are balanced and evenly distributed. Overloading or unevenly distributing laundry can cause excessive vibration, unbalanced conditions, and potential damage to both the appliances and the surrounding area.

IV. Tips for a Seamless Installation
-
Consult Manufacturer’s Instructions:
- Before installation, carefully read and familiarize yourself with the manufacturer’s instructions for both the washer and dryer. Each appliance may have specific installation requirements and guidelines that vary by brand and model.
-
Seek Professional Help if Necessary:
- If you are uncertain or uncomfortable with any aspect of installation, do not hesitate to seek professional assistance. Qualified plumbers, electricians, or appliance technicians can ensure proper installation, compliance with local codes, and safe operation of the appliances.
-
Perform Regular Maintenance:
- Once the hookup installation is complete, establish a regular maintenance routine. Clean lint filters regularly, inspect water and gas connections periodically, and ensure proper ventilation to maintain optimal performance and prevent potential issues.
VI. Troubleshooting Common Installation Issues
-
Leaks:
- If you encounter water leaks after installation, check the connections between the water supply lines and the washer. Ensure that the connections are secure and that no excessive force was used during installation, which could cause damage to the hoses or fittings. Use pipe sealing compound or tape to fix any leaks and consider replacing damaged hoses or fittings if necessary.
-
Poor Drainage:
- If you notice that the washer is not draining properly or experiencing slow draining, check the drain hose and ensure it is not kinked or obstructed. Verify that the hose is securely attached to both the washer and the drain outlet, and consider installing a lint trap or filter to prevent clogs from forming within the drain system.
-
Inadequate Ventilation:
- If your dryer is not effectively venting the moist air, make sure that the vent ducting is properly installed and free from any obstructions. Inspect the ducting for any kinks or bends that could impede airflow and ensure that the exterior vent is clear of debris. Consider using a vent booster or cleaning kit to improve ventilation efficiency if necessary.
-
Electrical Issues:
- If you experience electrical problems, such as tripped circuit breakers or fuse blowouts, verify that the electrical connections were made correctly and that the wires are securely attached. Double-check that the proper voltage and amperage requirements of your washer and dryer are being met. If the issues persist, consult a licensed electrician to diagnose and address any electrical problems.
V. Conclusion: Enjoy a Smooth Laundry Experience
Proper installation of your washer and dryer hookup is essential for a seamless and efficient laundry experience. By carefully following the steps outlined in this guide and prioritizing safety, you can ensure that your appliances are properly connected, balanced, and ready to tackle your laundry needs.
Remember to gather the necessary tools, materials, and safety equipment before starting the installation process. If you encounter any difficulties or are unsure about specific steps, don’t hesitate to seek professional assistance.
Once your washer and dryer hookup is successfully installed, enjoy the convenience and benefits of a fully functional laundry space within your home. Regular maintenance and responsible usage will ensure the longevity and optimal performance of your appliances, providing satisfaction for years to come.