Introduction:
Cutting men’s hair with clippers can be a convenient and cost-effective way to maintain a well-groomed appearance. Whether you’re looking to achieve a simple buzz cut or a more intricate hairstyle, using clippers allows for precision and control. However, it’s essential to know the proper techniques and steps to ensure a successful haircut. In this guide, we will explore the process of cutting men’s hair with clippers, including preparation, clipper settings, techniques for different hair lengths, and finishing touches. By following these guidelines, you can achieve a professional-looking haircut in the comfort of your own home.

How to cut men’s hair with clippers?
Prepare the Hair and Tools:
Before getting started, it’s important to prepare the hair and gather the necessary tools. Consider the following steps:
a. Wash and Dry the Hair: Begin by washing the hair to remove any dirt, oils, or product buildup. Ensure the hair is completely dry before starting the haircut, as wet hair can affect the clipper’s performance and accuracy.
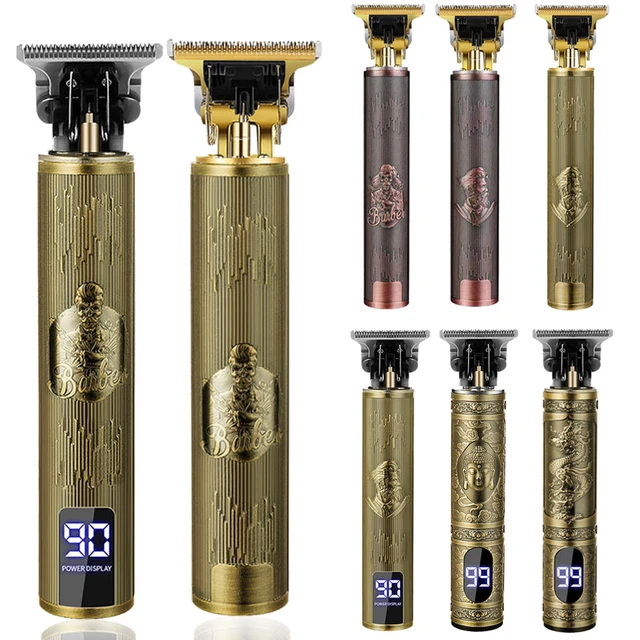
b. Gather the Tools: Prepare a set of quality clippers with various guard attachments to achieve different hair lengths. Additionally, have a comb, scissors, a handheld mirror, and a clean towel for convenience. You can use hello kitty mirror to help you get a better haircut.
Determine the Desired Hair Length:
Decide on the desired hair length and select an appropriate clipper guard attachment. Different guard sizes correspond to specific hair lengths, with larger numbers indicating longer lengths. Experiment with different guards to achieve the desired look and ensure consistency throughout the haircut.
Start with the Sides and Back:
Most haircuts begin with trimming the sides and back. Follow these steps for a neat and even cut:
a. Attach the Appropriate Guard: Attach the selected guard to the clippers, ensuring it is securely in place.
b. Start at the Sideburns: Begin at the sideburns and work your way around the head, moving the clippers against the direction of hair growth. Use smooth and steady strokes to maintain an even length. Keep the clippers parallel to the scalp for consistent results.
c. Gradually Move Upwards: Continue working your way upwards, keeping the clippers level with the head and maintaining a consistent distance from the scalp. Use overlapping strokes to ensure all hair is evenly trimmed.
d. Pay Attention to the Hairline: Pay close attention to the hairline and neckline, using the clippers without a guard or a shorter guard for a clean and defined finish.
Blend the Sides and Top:
To achieve a seamless transition between the sides and the top, follow these steps:
a. Remove the Guard or Use a Smaller Guard: Remove the guard or switch to a smaller guard size for a shorter length.
b. Start Blending: Begin at the sides and gently blend the hair between the shorter sides and the longer top. Use short and upward strokes to create a natural and gradual transition.
c. Taper the Hair: To create a more gradual fade, use a technique called tapering. Gradually decrease the clipper’s height as you move towards the top, creating a tapered effect.
d. Feather the Edges: To soften any harsh lines, use the clippers without a guard or with a very short guard to feather the edges where the hair transitions. This creates a natural and blended appearance.
Trim and Style the Top:
Now it’s time to trim and style the hair on top. Consider the following steps:
a. Determine the Length: Decide on the desired length for the top of the hair. Use scissors to trim any excess length or to create specific styles, such as a textured cut or a fringe.
b. Comb and Lift the Hair: Use a comb to lift the hair on top and hold it between your fingers. Trim the hair to the desired length by cutting across the hair shafts in small increments.
c. Blend the Top and Sides: To create a smooth transition between the top and sides, use the comb to lift the hair near the sides and gently blend it with the clippers, using short upward strokes.
d. Texturize and Add Detail: Use scissors to add texture or detail to the hair. Point-cutting or using thinning shears can create texture and remove bulk, while carefully snipping small sections can refine the shape or add layers.
Check for Symmetry and Make Adjustments:
After completing the haircut, use a handheld mirror or a mirror reflection to check for symmetry and make any necessary adjustments. Pay attention to the hairline, the side profile, and the overall balance of the haircut. Make small corrections with the clippers or scissors as needed to achieve an even and polished look.
Clean Up and Finish:
To complete the haircut, consider these finishing touches:
a. Clean Up the Neckline: Use the clippers without a guard or a shorter guard to clean up the neckline. Start from the center and move outward, following the natural hairline and creating a clean and defined neckline.
b. Remove Loose Hair: Use a clean towel or a brush to remove any loose hair from the client’s neck, shoulders, or face. This helps provide a clean and tidy appearance.
c. Style as Desired: Style the hair using a comb, brush, or your fingers, and apply styling products if desired. This step adds the finishing touch and allows for personalization of the haircut.
Properly Clean and Maintain the Clippers:
After completing the haircut, it’s important to clean and maintain the clippers for optimal performance and longevity. Follow these steps:
a. Remove Hair Residue: Use a small brush or a toothbrush to remove hair residue from the clipper blades and attachments. This helps prevent clogging and ensures smooth operation.
b. Oil the Blades: Apply a few drops of clipper oil to the blades and run the clippers for a few seconds to allow the oil to distribute evenly. This helps maintain the blades’ sharpness and prevents rust.
c. Store Properly: Store the clippers in a clean and dry environment, preferably in a case or pouch to protect them from dust and damage.
Conclusion:
Cutting men’s hair with clippers can be a convenient and cost-effective way to maintain a well-groomed appearance. By following the proper techniques and steps, you can achieve a professional-looking haircut at home. Remember to prepare the hair and tools, determine the desired hair length, work on the sides and back first, blend the sides and top, trim and style the top, check for symmetry, and finish with clean up and maintenance. With practice and attention to detail, you can master the art of using clippers and achieve a well-executed haircut every time.