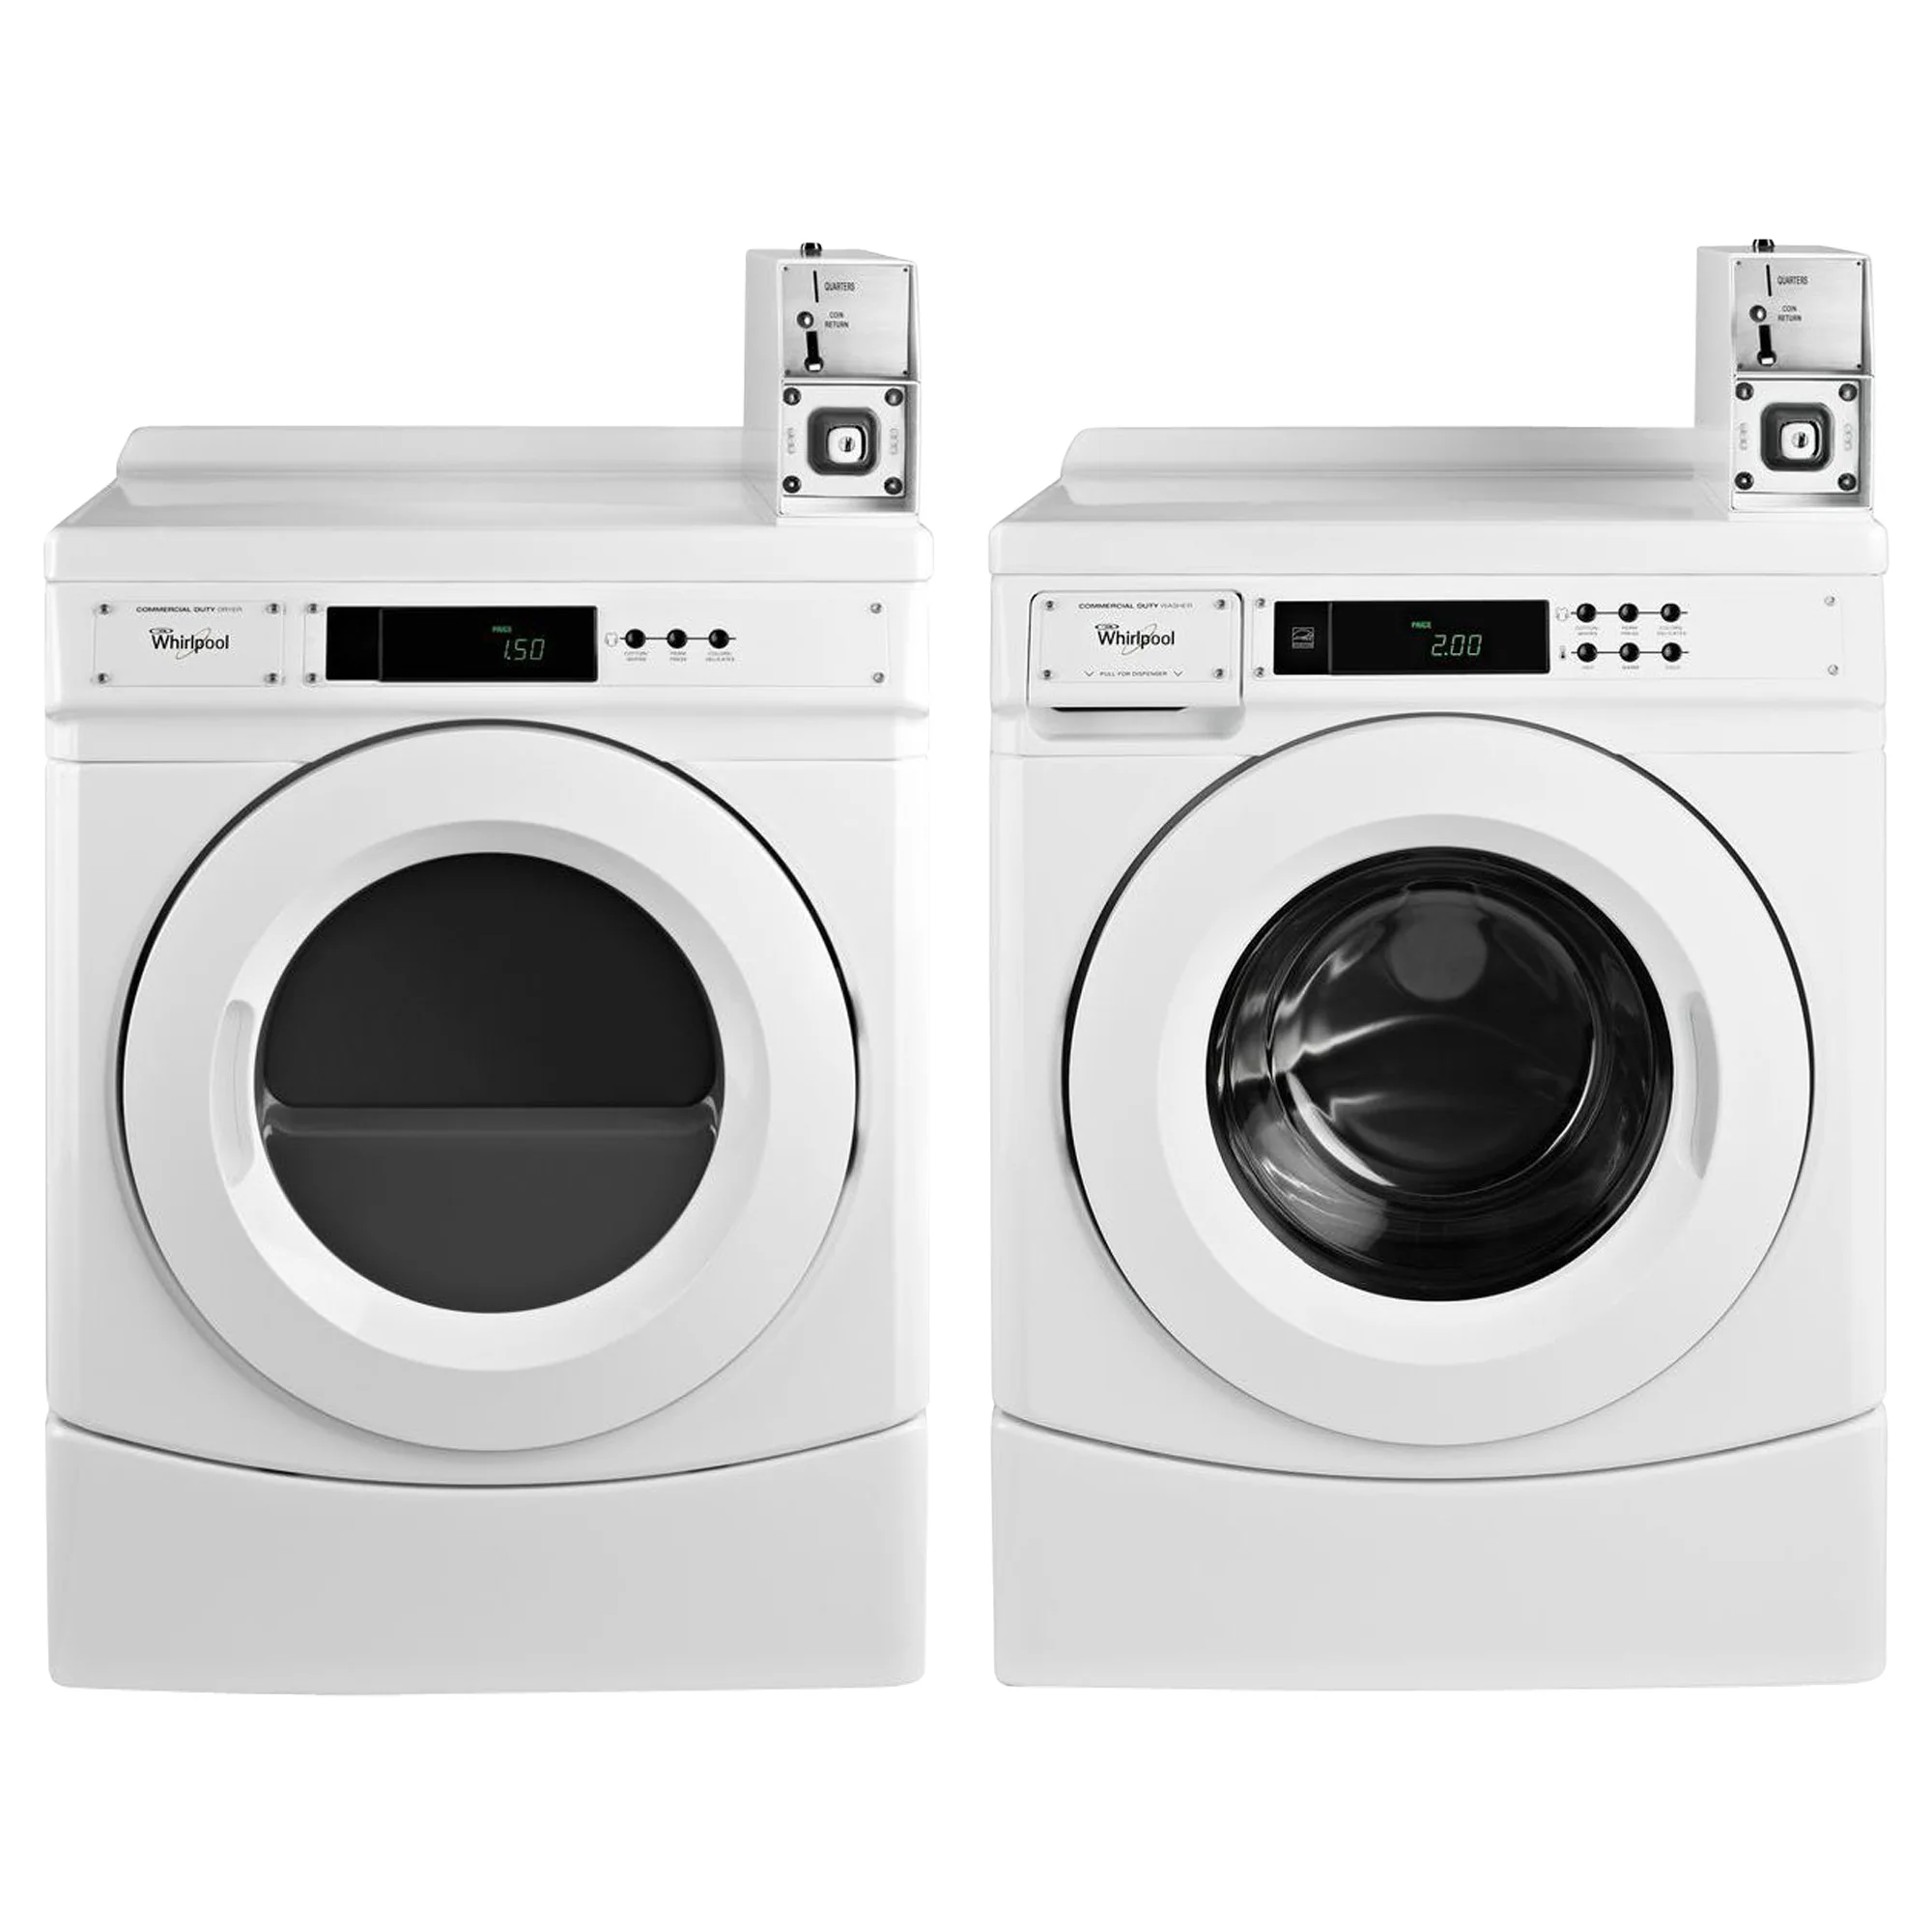
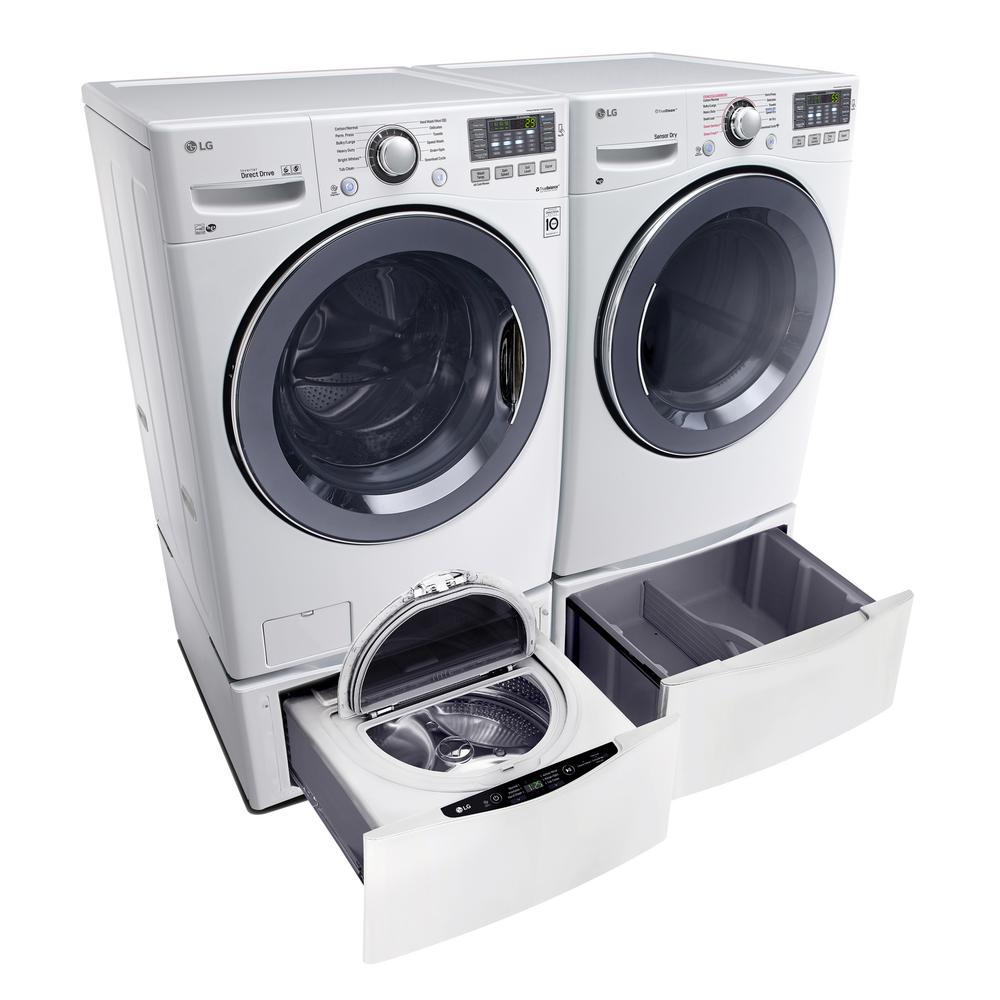
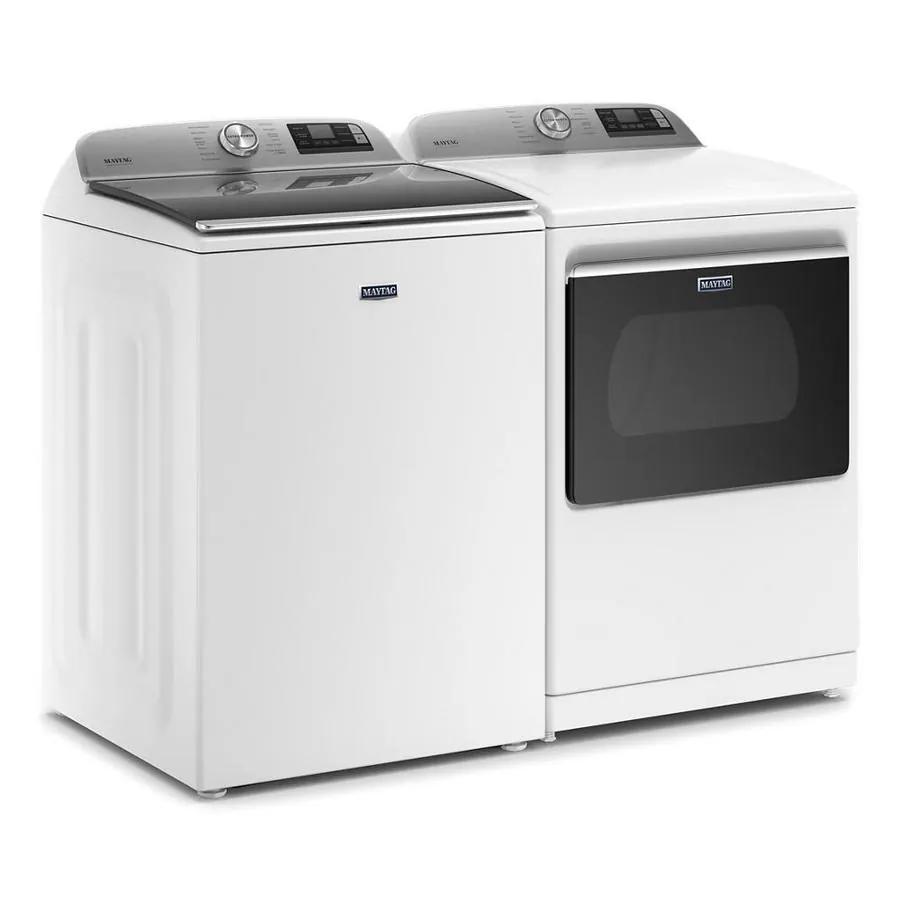
Installing a washer and dryer can seem like a daunting task, but with the right preparation and knowledge, anyone can successfully complete the project. It’s essential to ensure that your machines are installed correctly to function efficiently and safely. In this guide, we’ll walk you through every step of the installation process, providing tips and insights to help make it a smooth experience. From selecting the right space to connecting the various components, we’ll cover how to install a washer and dryer in detail.
Choosing the Right Location
Assessing Space Requirements
Before you begin the installation, it’s important to assess the space where your washer and dryer will go. Make sure to measure the area to ensure that you have enough room for both the machines and any additional accessories you may need, like storage units or drying racks.
- Washer Size: Most washers have dimensions of about 24 to 30 inches in width, 27 to 34 inches in depth, and 36 inches in height. Ensure you account for any levelling feet.
- Dryer Size: Similar to washers, dryers are typically around 27 to 32 inches wide, 28 to 34 inches deep, and 36 inches tall.
Ventilation Considerations
Another key factor when selecting your laundry space is ventilation. Dryers require proper ventilation to expel hot air and humidity.
- Vent Placement: Ideally, your dryer vent should exit outside the house. If the vent must go through walls or ceilings, ensure the path is as straight as possible to minimize air resistance.
- Obstructions: Clear any obstructions like furniture, shelves, or clutter that might inhibit airflow. Proper ventilation reduces dryer strain and helps prevent moisture problems.
Gathering Necessary Tools and Materials
Essential Tools
Having the right tools on hand can significantly streamline the installation process. Here are some basic tools you’ll need:
- Screwdriver: For adjusting and securing fittings.
- Wrench: To tighten connections.
- Level: To ensure your machines are balanced.
- Drill: If you need to create holes for plumbing or electrical connections.
- Measuring Tape: To ensure everything fits perfectly.
- Utility Knife: Useful for opening boxes or cutting through packing material.
Materials Needed
In addition to your tools, you’ll need a few materials specific to your washer and dryer installation:
- Hoses: Ideally, use stainless steel hoses for water supply lines to prevent leaks. You will need both cold and hot water hoses.
- Ducting Kit: Ensure you have a dryer vent duct and any connectors necessary for installation.
- Wire Connectors: For electric dryers, you’ll need wire connectors to ensure the machine is properly grounded.
- Rubber Mats: To help reduce noise and vibration.
Preparing the Washer and Dryer
Unboxing and Inspecting
Once you have the necessary space, tools, and materials ready, it’s time to unbox your washer and dryer.
- Careful Unpacking: Handle the boxes carefully, as appliances are often heavy and can get damaged if dropped or mishandled.
- Inspection: Upon removing the appliances from the box, inspect both machines for any visible damage. Check for dents, scratches, or other issues, and report them to the retailer immediately.
Adjusting Levelling Feet
Most washers and dryers come with adjustable feet to ensure they sit evenly on your flooring.
- Using a Level: Place a level on top of the appliances to check for balance. Adjust the feet as necessary so that the machine sits flat, which helps minimize vibrations during operation.
- Locking Mechanisms: Once the machines are level, make sure to engage any locking mechanisms to secure the feet in place.
Connecting the Washer
Plumbing Connections
To install the washer, start with its plumbing connections. Follow these steps:
- Water Supply: Attach the hot and cold water hoses to their corresponding outlets on the wall. Make sure the rubber washers are properly seated in the hose fittings to prevent leaks.
- Connecting Hoses to Washer: Once connected to the wall, affix the other ends of the hoses to the washer. Use pliers to securely tighten but be cautious to avoid over-tightening, which can damage the connections.
Drainage Setup
The washer also needs a drainage system. Most washers will have a drain hose that needs to be appropriately positioned.
- Hose Height: Make sure the drain hose is at least 30 inches above the floor to prevent backflow. Follow the manufacturer’s guidelines for specific heights.
- Drain Location: Place the hose into a standpipe or a laundry tub, ensuring it fits snugly to minimize leaks.
Electrical Connection
Before plugging the washer in, you need to check the electrical outlet.
- Outlet Compatibility: Ensure the outlet is compatible with the washer. If you’re using a 240V outlet, ensure that the washer is designed to connect to it.
- Grounding: It’s critical to confirm that the outlet is grounded. This will help prevent electrical shocks.
Connecting the Dryer
Ventilation Setup
Just like the washer, the dryer also requires specific connections to function properly.
- Vent Installation: Attach ducting to the dryer vent and route it to the outside. Secure it with clamps to prevent disconnections over time.
- Minimize Bends: Try to keep bends to a minimum, as too many can reduce airflow efficiency.
Electrical Connection for Electric Dryer
If you’re installing an electric dryer, follow these steps:
- Plugging it In: Make sure the dryer is off before plugging it into the outlet.
- Check Circuit: Ensure the circuit is rated at least 30 amps and matches the dryer’s requirements.
Gas Dryer Connections
For a gas dryer, the installation process differs slightly, and there are additional safety considerations:
- Gas Supply Line: Attach the gas line to the dryer, ensuring it’s a flexible gas connection hose that’s compliant with regulations.
- Checking for Leaks: After connecting, check for leaks using soapy water on the fittings. If bubbles form, you’ll need to tighten the connections.
Testing the Installation
Final Checks
Once both the washer and dryer are connected, it’s time to perform some important tests.
- Water Supply Test: Turn on the water supply and check for leaks around the hose connections to the washer.
- Drainage Test: Run a short cycle on the washer to ensure that it drains properly and that there are no leaks.
Running the Dryer
- Vent Check: Turn on the dryer to ensure that hot air is properly vented outside. Check around the vent to ensure there are no leaks.
- Functionality Test: Run a test load in both the washer and dryer to ensure they are working correctly and efficiently.
Making Adjustments
After testing, you may need to make minor adjustments to the installation.
- Leveling Again: If you notice excessive vibration during operation, consider adjusting the leveling feet again.
- Tightening Connections: If you see drips or experience airflow issues with the dryer, ensure all connections are tight.
 Maintenance and Safety Tips
Regular Maintenance
To ensure your washer and dryer operate efficiently throughout their lifespan, regular maintenance is key.
- Clean the Lint Trap: For dryers, regularly clean the lint trap before each use to maintain airflow and prevent fire hazards.
- Check Hoses Periodically: Inspect the water supply hoses every few months for wear or leaks, and replace them if necessary.
Safety Precautions
Installing washers and dryers involves handling heavy appliances and working with electricity and plumbing. Adhere to the following safety practices:
- Read Manuals: Always read the manufacturer’s manuals for both the washer and dryer before installation. They provide specific instructions and safety guidelines.
- Don’t Overload: Avoid overloading the washer or dryer, as this can lead to performance issues and damage over time.
- Secure Placement: Ensure both machines are placed securely on a level surface to prevent tipping or falling.
Conclusion: how to install a washer and dryer
By following this comprehensive guide on how to install a washer and dryer, you should feel empowered to take on the task with confidence. From choosing the right location to connecting plumbing and electrical components correctly, each step plays a vital role in ensuring that your laundry appliances operate smoothly and efficiently. Taking the time to make careful selections and connections will save you from potential issues in the future, allowing you to enjoy the convenience of having a properly installed washer and dryer in your home. Remember to keep maintenance in mind and stay cautious when working with these appliances for a long-lasting and efficient laundry experience.