Installing a dryer cord can seem daunting, especially for first-time homeowners or those who are new to DIY projects. However, with the right information and a little guidance, you can safely and effectively install a dryer cord yourself. In this comprehensive guide, we will cover every aspect of dryer cord installation, from the tools you might need to the step-by-step process. By the end of this article, you will be well-equipped to tackle this household task confidently.
Understanding Dryer Cords
Types of Dryer Cords
Before diving into the installation process, it’s crucial to understand the different types of dryer cords available. The type you’ll need depends on the electrical outlet configuration in your home. Here are the most common types:
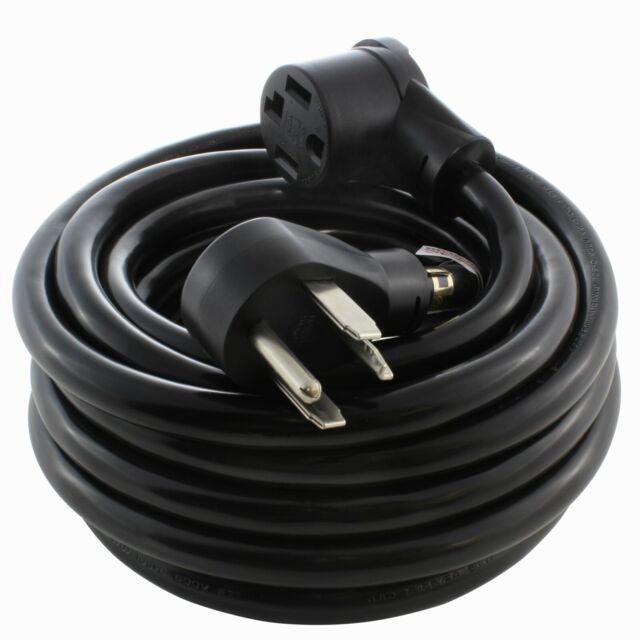
- 3-Prong Cord: Typically used for older homes, this cord has three connectors and is designed for 240-volt receptacles without a ground wire.
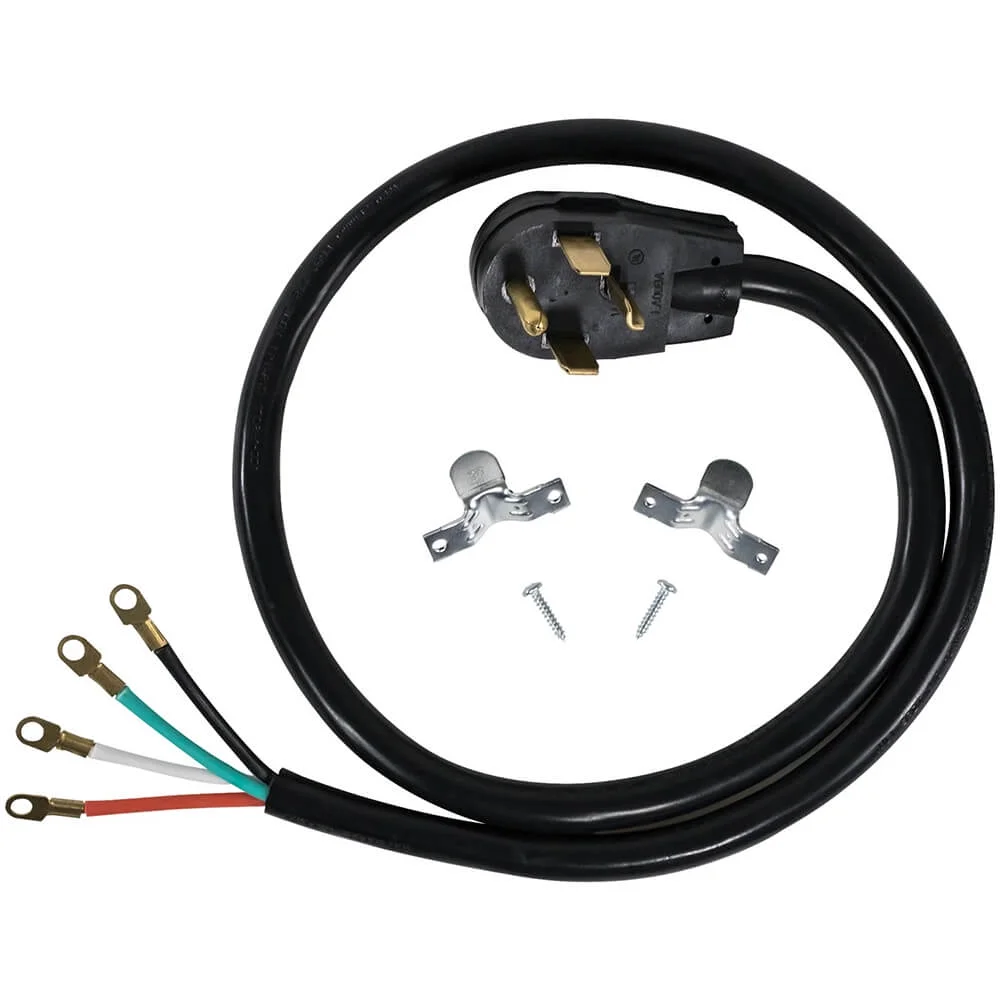
- 4-Prong Cord: Most modern dryers require a four-prong cord. This design includes two hot wires, one neutral wire, and a ground wire, providing a safe and reliable connection to modern electrical outlets.
- Different Amp Ratings: Dryer cords come in different amp ratings (30-amp is the standard for most residential dryers), so make sure to choose one that matches your dryer’s requirements.
Assessing Your Outlet
Before purchasing a dryer cord, it is essential to assess your electrical outlet. Check whether you have a 3-prong or 4-prong outlet. If your home was built or renovated after 1996, it is highly likely that it has a 4-prong outlet. This is a pivotal moment in your dryer cord installation process, as it will determine which cord you’ll need to buy.
Preparing for Installation
Tools and Materials
To ensure a seamless installation process, gather the necessary tools and materials ahead of time. Here’s what you’ll need:
- Screwdriver: A flat-head or Phillips screwdriver, depending on the screws used in your dryer.
- Voltage Tester: This will ensure that the power is off while you’re working.
- Wire Strippers: Useful for stripping the ends of wires, if needed.
- Cord Clamp: This is sometimes included but may be required to secure the cord to the dryer.
- New Dryer Cord: Purchase either a 3-prong or 4-prong cord based on your outlet type.
- Electrical Tape: For added security, you might choose to use electrical tape.
Safety Precautions
Safety should always be your top priority when dealing with electrical appliances. Here are some key safety tips:
- Disconnect Power: Before you begin, make sure to unplug the dryer from the wall outlet. If you’re unsure where the power source is, turn off the circuit breaker that connects to your dryer.
- Use a Voltage Tester: After disconnecting the dryer, use a voltage tester to ensure that no electricity is flowing to the plug.
- Wear Gloves: Protect your hands from sharp wires and edges by wearing gloves throughout the installation process.
Step-by-Step Dryer Cord Installation
Step 1: Remove the Existing Cord
If your dryer has an old cord, you’ll need to remove it before installing the new one. Here’s how:
- Tilt the Dryer: Gently tilt the dryer back against a wall to gain access to the back.
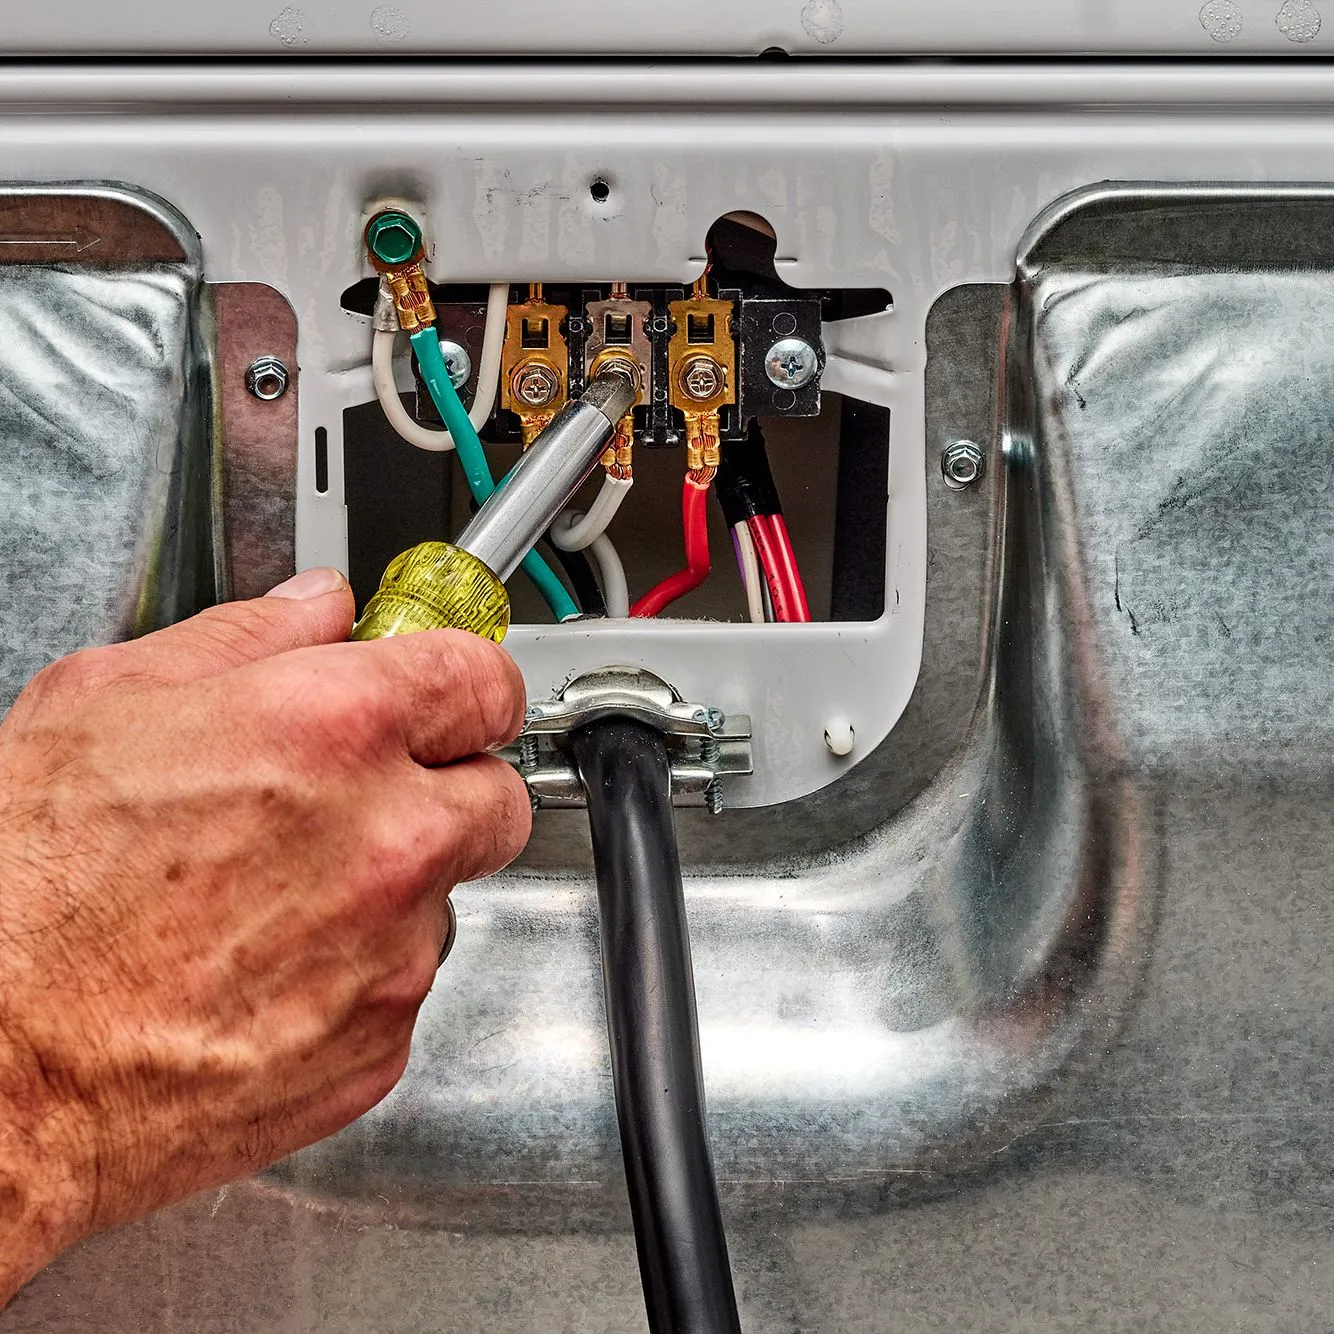
- Locate the Cord Connection: Find the connection point for the dryer cord on the back of the appliance. You’ll typically see a cover plate securing the existing cord.
- Unscrew the Cover Plate: Use your screwdriver to remove the screws and take off the cover plate.
- Disconnect the Old Cord: You will find three or four wires connected to the old cord. Keep track of where each wire is attached. Carefully loosen the screws holding these wires to the dryer and remove the old cord.
Step 2: Prepare the New Cord
Before connecting the new cord, prepare it properly:
- Strip the End of the Wires: If the new cord does not have the wire ends stripped, use your wire strippers to expose around half an inch of copper wire.
- Check the Cord Clamp: Locate the cord clamp on the back of your dryer. This will be used to secure the new cord in place.
Step 3: Connecting the New Cord
Now it’s time to connect the new cord to your dryer:
- Insert the New Cord: Feed the new dryer cord through the cord clamp. Ensure that it is positioned correctly.
- Connect Wires: If you are using a four-prong cord, you’ll connect the wires as follows:
- Connect the two hot wires (usually colored red and black) to their respective terminals.
- Connect the neutral wire (usually white) to the center terminal.
- Finally, connect the ground wire (usually green or bare) to its terminal.
For a three-prong cord, connect the hot wires and neutral as needed, leaving the ground screw free.
- Secure the Connections: Tighten all the screws on the terminals to secure the wires in place. Make sure that none of the wires are touching each other to prevent short circuits.
Step 4: Replace the Cover Plate
Once all the wires are connected securely:
- Put the Cover Plate Back: Reattach the cover plate by aligning it with the holes and tightening the screws.
- Tighten the Cord Clamp: Ensure the cord clamp is fitted snugly against the new cord to keep it from movement.
Step 5: Testing the Dryer
Before using your dryer, it’s wise to perform a final check:
- Ensure Everything Is Tight: Double-check all the screws and connections to ensure nothing is loose.
- Plug the Dryer In: Carefully plug the dryer back into the outlet and make sure that it fits securely.
- Restore Power: If you turned off a circuit breaker, turn it back on.
- Run a Test Load: Start the dryer with a test load to confirm that it is functioning correctly. Keep an ear out for any unusual sounds or smells.
 Common Issues and Troubleshooting
Problem: Dryer Not Running
If your dryer is plugged in but does not turn on, consider checking the following:
- Power Source: Ensure that the outlet is functional and that the circuit isn’t tripped.
- Wire Connections: Double-check if all wire connections are tight and secure.
- Dryer Settings: Review the dryer settings to ensure proper functionality.
Problem: Burning Smell
If you notice a burning smell while operating the dryer, stop using it immediately. This could indicate a problem like:
- Loose Connections: Inspect all wire connections for any burns or melted wires.
- Overheated Cord: Check if the cord is excessively hot; if so, it may need replacement.
Maintenance Tips for Your Dryer
After successfully completing your dryer cord installation, you’ll want to ensure your appliance continues to function well. Here are some maintenance tips to consider:
- Clean the Lint Trap Regularly: This can prevent fire hazards and enhance efficiency.
- Inspect the Cord Periodically: Check your dryer cord for any signs of wear or damage.
- Ventilation Check: Ensure that the dryer vent is clean and not obstructed to maximize its performance.
Conclusion
Completing a dryer cord installation can save you time and money, while also empowering you to be more self-sufficient in your home maintenance. Remember, understanding the type of cord you need, following safety precautions, and executing the steps of installation carefully are crucial for a successful setup. By adhering to this comprehensive guide, you can confidently tackle dryer cord installation and ensure your appliance is working efficiently and safely. Whether you’re a DIY enthusiast or a beginner, the knowledge shared here will serve you well in your future endeavors. Happy drying!