A malfunctioning clothes dryer can disrupt your daily routine, especially if the problem lies with a broken or worn-out belt. Understanding how to replace a dryer belt can save you time and money by avoiding unnecessary service calls. In this guide, we will walk you through the steps of identifying the issue, gathering the necessary tools, and replacing the belt yourself. By following these steps, you can restore your dryer’s functionality and extend its lifespan.
Identifying the Problem
The first step in replacing a dryer belt is to ensure that the belt is the root cause of the problem.
Common Symptoms
If your dryer fails to start, makes unusual noises, or the drum doesn’t turn, these could be signs of a broken or worn-out belt. Identifying these symptoms early can help you address the issue promptly.
Visual Inspection
Perform a visual inspection by unplugging the dryer and opening the door. Look for any visible signs of damage to the belt, such as fraying, cracks, or complete breakage. This initial inspection helps confirm that the belt needs replacement.
Testing the Drum
Try manually turning the drum with your hand. If it spins freely without any resistance, it’s a clear indication that the belt is likely broken and needs replacement. This simple test provides additional confirmation before proceeding with the repair.
Gathering Necessary Tools and Materials
Having the right tools and materials on hand ensures a smooth and efficient repair process.
Essential Tools
You will need a screwdriver set, a putty knife, needle-nose pliers, and a socket wrench. These tools are crucial for accessing and replacing the dryer belt. Ensuring you have these tools ready will make the process more seamless.
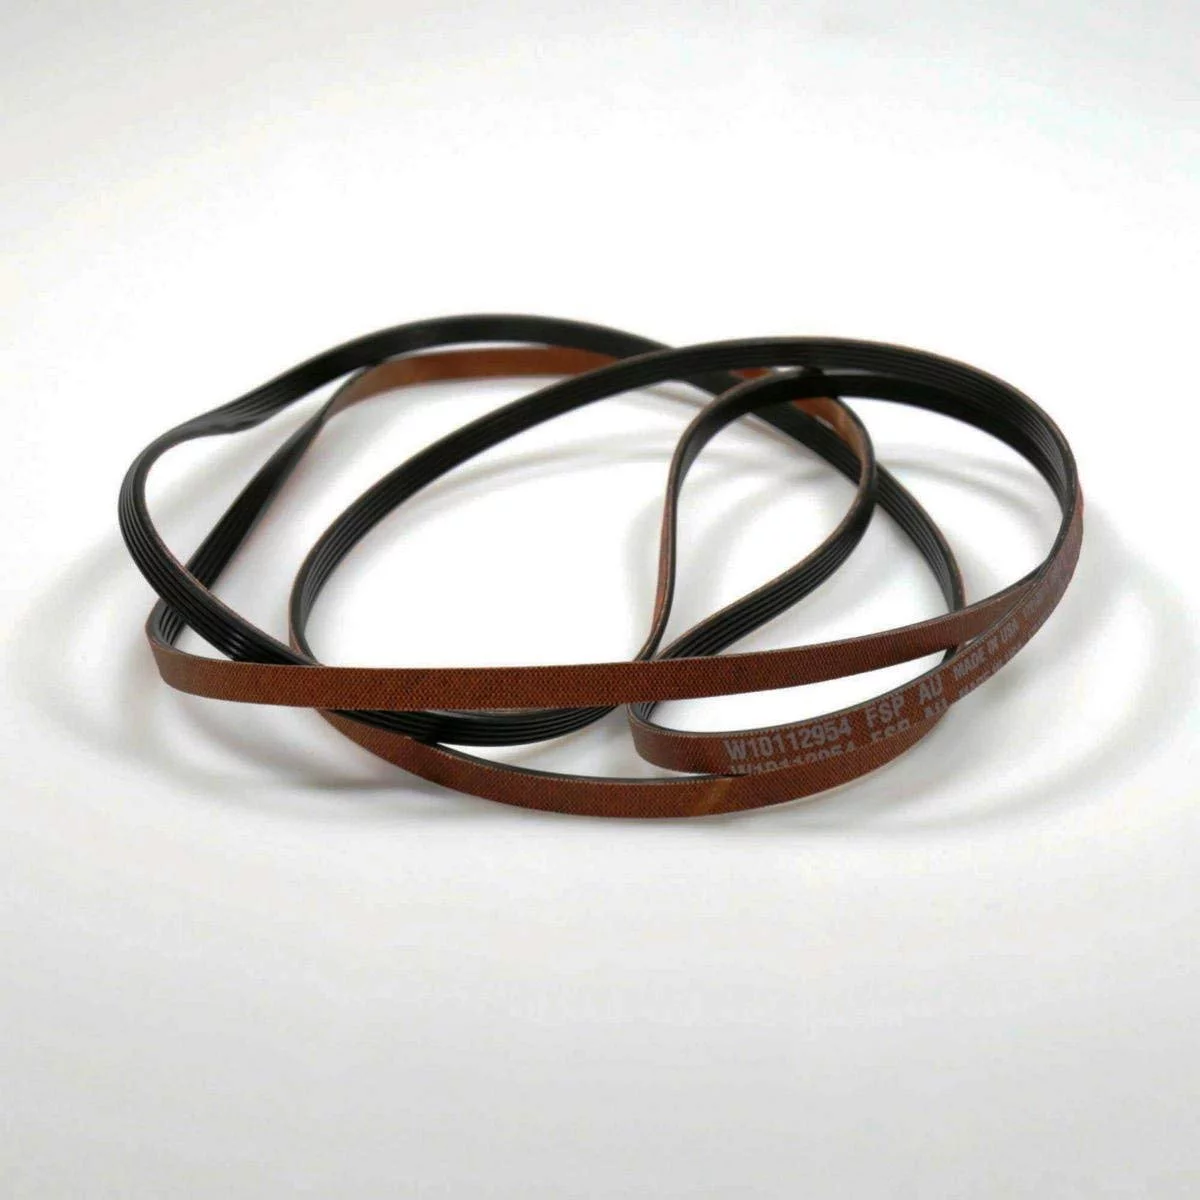
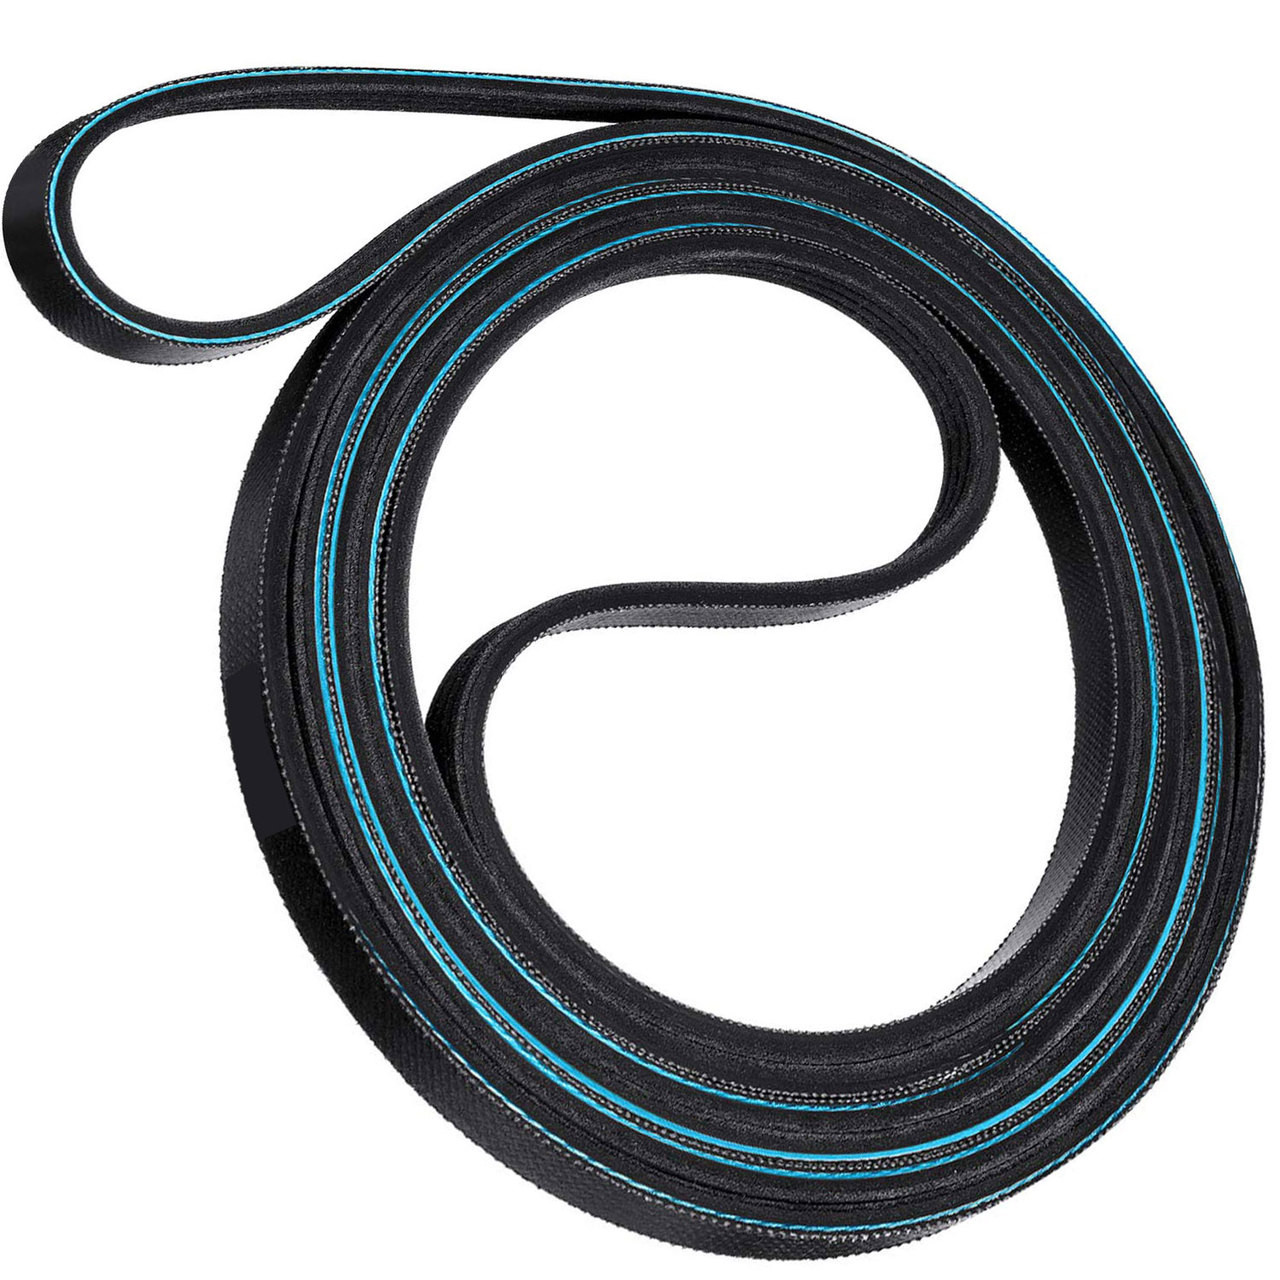
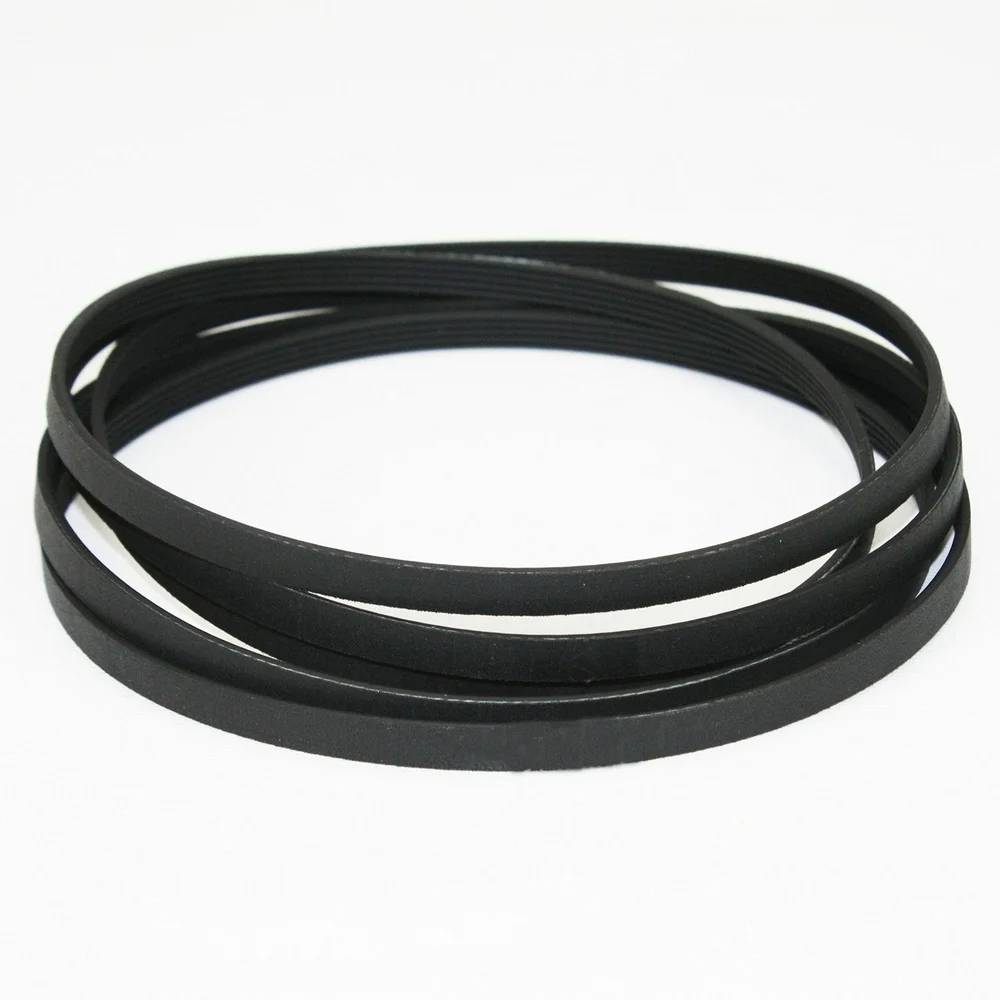
Replacement Belt
Purchase the correct replacement belt for your specific dryer model. You can find this information in the user manual or by searching online using the dryer’s model number. Getting the right belt ensures proper fit and functionality.
Safety Gear
Wear safety gear, such as gloves and safety glasses, to protect yourself from any sharp edges or debris while working on the dryer. Safety gear is essential to prevent injuries during the repair process.
Disconnecting the Dryer
Before starting the replacement process, ensure your safety by disconnecting the dryer from its power source.
Unplugging the Dryer
Unplug the dryer from the electrical outlet to eliminate the risk of electric shock. Safety should always be the top priority when working with electrical appliances. Ensuring the dryer is completely unplugged is a critical safety step.
Turning Off the Gas Supply (If Applicable)
If you have a gas dryer, turn off the gas supply before proceeding with any repairs. Ensuring there is no gas flow minimizes the risk of gas leaks and potential hazards.
Moving the Dryer
Move the dryer away from the wall to create enough space to access the rear panel and other components. This step provides ample room to work safely and efficiently.
Accessing the Dryer Belt
Gaining access to the dryer belt requires removing certain components of the dryer.
Removing the Lint Trap Housing
Start by removing the lint trap and any screws securing the lint trap housing. This step is essential to access other components within the dryer. Proper removal of the lint trap housing sets the stage for accessing the belt.
Detaching the Top Panel
Use a putty knife to release the clips holding the top panel in place. Lift the top panel and secure it to prevent it from falling. Proper detachment of the top panel allows you to proceed with the next steps safely.
Removing the Front Panel
Locate and remove the screws securing the front panel to the dryer frame. Disconnect any wiring harnesses connecting the front panel to the dryer. Carefully lift off the front panel and set it aside. Proper removal of the front panel exposes the dryer’s internal components.
Accessing the Drum
With the front panel removed, you can now access the drum and locate the broken belt. Clear access to the drum is crucial for efficient belt replacement.
Removing the Broken Belt
Once you have clear access to the drum, the next step is to remove the broken belt.
Locating the Idler Pulley
Find the idler pulley, which keeps tension on the dryer belt. Carefully release the tension by pushing the idler pulley away from the belt. Proper handling of the idler pulley ensures smooth belt removal.
Removing the Belt
Slide the broken belt off the idler pulley and motor shaft. Remove it completely from around the drum. Ensure the old belt is entirely free before proceeding with installation.
Inspecting Other Components
Take this opportunity to inspect other components, such as the idler pulley and motor shaft, for any signs of wear or damage. Addressing these issues now can prevent future problems. A thorough inspection ensures all components are in good condition.
Installing the New Belt
With the old belt removed, you can now install the new belt.
Positioning the Belt
Place the new belt around the drum, ensuring the ribbed side faces inward towards the drum. Proper positioning of the belt is crucial for optimal performance.
Routing the Belt
Route the belt through the idler pulley and loop it over the motor shaft. Ensure the belt is properly aligned and tensioned. Correct routing guarantees smooth operation of the drum.
Rechecking Alignment
Double-check the alignment of the belt to ensure it’s seated correctly on all pulleys and the drum. Proper alignment ensures the belt operates efficiently and minimizes wear.
Reassembling the Dryer
After installing the new belt, it’s time to reassemble the dryer by reversing the disassembly steps.
Reattaching the Front Panel
Carefully align and reattach the front panel, reconnecting any wiring harnesses. Secure the panel with screws to ensure it’s firmly in place. Proper reattachment ensures the dryer operates safely.
Securing the Top Panel
Lower and secure the top panel, ensuring the clips snap back into place. Proper securing of the top panel maintains the structural integrity of the dryer.
Reinstalling the Lint Trap Housing
Reattach the lint trap housing and secure it with screws. Correct installation ensures proper functioning of the lint trap.
Moving the Dryer Back
Carefully move the dryer back to its original position, ensuring it’s level and stable. Positioning the dryer correctly ensures safe and efficient operation.
 Testing the Repair
Ensure the repair was successful by testing the dryer.
Plugging In the Dryer
Plug the dryer back into the electrical outlet. For gas dryers, turn the gas supply back on. Ensuring the dryer is properly reconnected is crucial for testing.
Running a Test Cycle
Run a test cycle to confirm the dryer drum turns and operates smoothly. Listen for any unusual noises or issues. Testing the dryer ensures the repair was successful and the belt is functioning correctly.
Monitoring Performance
Monitor the dryer’s performance over the next few cycles to ensure everything is functioning as expected. Regular monitoring helps identify any issues early.
Maintenance Tips
To extend the life of your dryer belt and ensure optimal performance, consider these maintenance tips.
Regular Inspections
Periodically inspect the dryer belt and other components for signs of wear or damage. Early detection can help you address issues before they become severe. Regular inspection ensures ongoing optimal performance.
Cleaning the Lint Trap
Clean the lint trap after every use to prevent lint buildup, which can strain the dryer belt and other components. Proper cleaning of the lint trap enhances dryer efficiency and longevity.
Professional Maintenance
Consider scheduling professional maintenance for your dryer at least once a year. Professionals can identify and address any issues early on, ensuring your dryer operates efficiently. Regular professional maintenance extends the dryer’s lifespan.
Conclusion: Replace dryer belt
Knowing how to replace a dryer belt empowers you to perform basic maintenance and repairs, saving time and money. By following these detailed steps, you can efficiently replace a dryer belt, ensuring your appliance functions optimally. Regular maintenance and inspections will further enhance your dryer’s performance and longevity, providing reliable service for years to come. Whether you’re a seasoned DIY enthusiast or a beginner, this guide equips you with the knowledge and confidence to tackle dryer belt replacement successfully.