Introduction:
Having a squeaky dryer can be an annoying problem that disrupts the peace in your home. While the noise might seem like a minor inconvenience, it could signal a larger issue within the machine. This comprehensive guide will walk you through the steps to identify the causes, the tools and materials you’ll need, and the specific steps to fix the squeak in your dryer. With the right approach and a bit of time, you can restore your dryer to quiet operation.
How to Fix a Squeaky Dryer?
Understanding the Causes of a Squeaky Dryer
Before you start the repair process, it’s essential to understand the potential causes of the squeaky noise.
Worn-Out Drum Rollers: Drum rollers support the dryer drum and ensure it rotates smoothly. Over time, these rollers can wear out, causing a squeak as the drum turns.
Damaged Drum Glides: Drum glides, also known as bearings or slides, are thin strips that support the drum and allow it to rotate smoothly. Worn-out or damaged drum glides can create squeaking noises.
Faulty Idler Pulley: The idler pulley maintains tension on the dryer belt, allowing the drum to spin. A worn or damaged idler pulley can cause squeaking during the dryer’s operation.
Deteriorated Drive Belt: The drive belt connects the dryer motor to the drum, ensuring it spins. A damaged or frayed belt can create squeaking noises.
Loose or Worn Blower Wheel: The blower wheel circulates air through the dryer. A loose or worn blower wheel can produce squeaking sounds as it spins.
Tools and Materials Needed
Before you begin the repair, gather all the necessary tools and materials to make the process smoother and more efficient.
Required Tools:
- Screwdrivers (Phillips and flathead)
- Nut driver or socket wrench set
- Pliers
- Putty knife or a similar flat tool
- Work gloves for protection
- Vacuum cleaner to remove lint and debris
Replacement Parts (depending on the issue):
- Drum rollers
- Drum glides
- Idler pulley
- Drive belt
- Blower wheel
- High-temperature lubricant (if needed for some parts)
Step-by-Step Guide to Fixing a Squeaky Dryer
Follow these detailed steps to troubleshoot and fix the squeaky noise in your dryer.
Step 1: Safety First
Disconnect the Dryer: Unplug the dryer from the electrical outlet to ensure your safety during the repair. If you have a gas dryer, also turn off the gas supply to prevent any leaks.
Wear Protective Gear: Put on work gloves to protect your hands from sharp edges and debris. Safety goggles are also a good idea to protect your eyes from dust and lint.
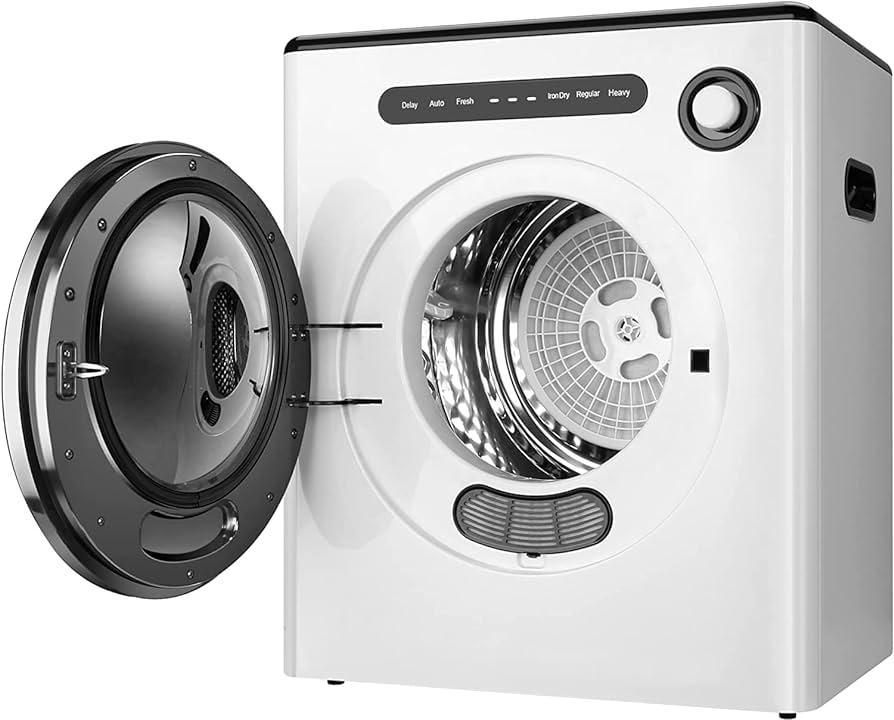
Step 2: Accessing the Dryer Components
Remove the Top Panel: Use a putty knife or flathead screwdriver to release the clips holding the top panel in place. Lift the top panel and set it aside.
Remove the Control Panel (if necessary): If your dryer has a control panel that blocks access to the internal components, remove it by unscrewing the mounting screws and gently lifting it off.
Remove the Front Panel: Unscrew the front panel and carefully lift it away from the dryer. You may need to disconnect any wiring leading to the door switch or other components. Set the front panel aside.

Step 3: Inspecting and Replacing Worn Drum Rollers
Locate the Drum Rollers: Identify the drum rollers located on the back wall of the dryer and at the front near the drum.
Inspect the Rollers: Check the rollers for signs of wear or damage. Spin them with your hand to see if they rotate smoothly. If they feel rough or make noise, they need replacement.
Remove the Old Rollers: Use a nut driver or socket wrench to remove the mounting screws holding the old rollers in place. Carefully remove the rollers from their shafts.
Install the New Rollers: Place the new rollers onto the shafts and secure them with the mounting screws. Ensure they spin freely without any resistance.
Step 4: Replacing Damaged Drum Glides
Locate the Drum Glides: Identify the drum glides typically located at the front of the dryer drum.
Inspect the Glides: Check the glides for signs of wear, such as thinning, cracks, or missing pieces. Worn-out glides need replacement.
Remove the Old Glides: Use a screwdriver or pliers to remove the old glides from their mounting brackets.
Install the New Glides: Attach the new glides to the mounting brackets and ensure they fit securely. Check that the drum rotates smoothly on the new glides.
Step 5: Fixing a Faulty Idler Pulley
Locate the Idler Pulley: Identify the idler pulley located near the dryer motor, which maintains tension on the drive belt.
Inspect the Idler Pulley: Check the pulley for signs of wear, cracks, or damage. Spin it with your hand to see if it moves smoothly. If it makes noise or feels rough, replace it.
Remove the Old Pulley: Release the tension on the drive belt by moving the idler pulley away. Remove the pulley from its mounting bracket and set it aside.
Install the New Pulley: Attach the new idler pulley to the mounting bracket and ensure it moves freely. Reinstall the drive belt and adjust the pulley to maintain proper tension.
Step 6: Replacing a Deteriorated Drive Belt
Inspect the Drive Belt: Check the drive belt for signs of wear, such as fraying, cracks, or stretching. If the belt looks worn or damaged, replace it. Note the belt’s path around the drum, motor, and pulleys.
Remove the Old Belt: Release tension on the belt by moving the idler pulley away. Remove the old belt from the drum and pulleys.
Install the New Belt: Place the new belt around the drum and ensure it follows the correct path around the pulleys and idler. Check that the belt is properly aligned and taut.
Step 7: Fixing a Loose or Worn Blower Wheel
Locate the Blower Wheel: Identify the blower wheel near the dryer’s motor, responsible for circulating air through the machine.
Inspect the Blower Wheel: Check the blower wheel for signs of wear, damage, or debris. Spin it with your hand to see if it moves smoothly. If it wobbles or makes noise, replace it.
Remove the Old Wheel: Use a nut driver or socket wrench to remove the mounting screws or bolts holding the blower wheel in place. Carefully remove the wheel from its shaft.
Install the New Wheel: Place the new blower wheel onto the shaft and secure it with the mounting screws or bolts. Ensure it spins freely without any resistance.
Step 8: Reassemble the Dryer
Reconnect Wiring: If you disconnected any wiring when removing the front panel, reconnect it now. Ensure all connections are secure.
Reattach the Front Panel: Lift the front panel and align it with the dryer’s frame. Secure it with the mounting screws.
Reinstall the Control Panel (if necessary): If you removed the control panel, reattach it by aligning it with the mounting brackets and securing it with screws.
Reattach the Top Panel: Lower the top panel back into place and press it down until the clips snap into position.
Step 9: Test the Dryer
Reconnect Power and Gas: Plug the dryer back into the electrical outlet. If you have a gas dryer, turn the gas supply back on.
Run a Test Cycle: Turn on the dryer and run a test cycle to check for any remaining squeaks. Listen for any unusual noises to ensure the issue has been resolved.
User Experiences and Insight
Learning from other users’ experiences can provide valuable insights and tips for fixing a squeaky dryer.
Positive Feedback: Many users report that replacing worn-out components such as drum rollers, glides, and the idler pulley effectively eliminated the squeaking noise. Proper maintenance and cleaning also contributed to quieter operation.
Identifying the Source: Users often highlight the importance of accurately identifying the noise source before attempting repairs. Misdiagnosing the issue can lead to unnecessary replacements or continued noise.
Maintenance Tips: Regular maintenance, such as cleaning lint traps, vacuuming dust and debris, and lubricating moving parts, can prevent squeaks and extend the life of the dryer. Keeping the dryer well-maintained ensures smoother operation and minimizes the risk of future issues.
Conclusion
Fixing a squeaky dryer involves identifying the source of the noise, gathering the necessary tools and replacement parts, and following a step-by-step repair process. By understanding the potential causes such as worn-out drum rollers, damaged glides, faulty idler pulleys, deteriorated drive belts, or loose blower wheels, you can address the problem effectively. This comprehensive guide provides detailed instructions to help you troubleshoot and repair your dryer, restoring it to quiet operation. Whether you choose to perform a DIY repair or hire a professional, resolving the squeak will contribute to a more peaceful and efficient laundry experience.